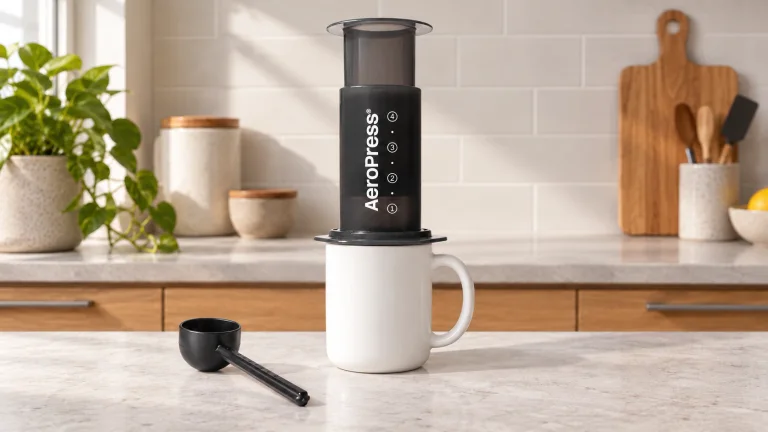
To use an AeroPress, fit a paper filter, add coffee and hot water, stir briefly and press gently into your mug. Keep the brewer upright. The important distinction is whether you're making a full cup in the brewer or a concentrate that needs water afterward. Mixing those two approaches is an easy way to end up with weak coffee.
This guide starts with the AeroPress Original and its standard filter cap. If you're still choosing a brewer, our coffee brewing methods guide compares AeroPress with pour-over, French press and other methods.
The simple AeroPress Original recipe
Follow AeroPress's current Original instructions for your first cup:
- Fit a paper filter into the cap. Lock the cap onto the chamber, then stand the brewer upright on a sturdy mug on a stable counter.
- Add 16–18 g of medium-fine coffee, or one heaping scoop using the supplied AeroPress scoop. Shake gently to level the bed.
- Add water to the number 4 mark. Use 185°F / 85°C water; the maker also allows boiling water if your kettle has no temperature control.
- Stir for about three seconds. Insert the plunger about half an inch and pull it back very slightly to help hold the water in the chamber.
- Wait 30 seconds, then press gently. With medium pre-ground coffee, the maker recommends a 60-second wait instead. Press until the liquid has passed through; a hiss near the end is normal.
That's your starting cup. Taste it before adding water. The troubleshooting section below helps you decide what to adjust if the result isn't right.
Know the parts before adding hot water
 AI
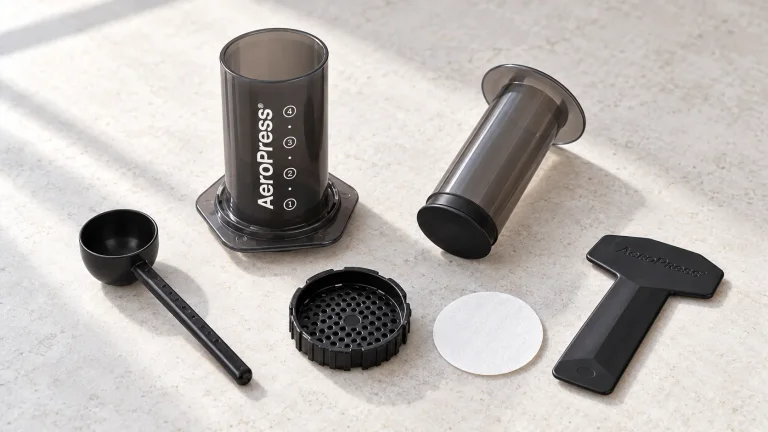
AIThe chamber holds the coffee and water. The filter cap locks beneath it and supports the paper. The plunger's silicone seal fits inside the chamber; gentle pressure pushes the brew through the filter into your mug. Check that the cap is fully engaged before you start.
Use a mug that supports the brewer securely. If it rocks, slips through the opening or sits crookedly, choose another mug before filling it. Don't press over a fragile glass or a damaged cup. Keep your supporting hand clear of the opening and hot liquid.
The Original has a nominal 10 oz capacity, but that isn't a promise of a 10 oz finished drink: coffee takes up space and holds onto some water. For a larger mug, decide in advance whether to brew a concentrate and dilute it or make another serving. Don't keep topping up an already full chamber.
Choose the grind and filter together
AeroPress recommends a medium-fine grind, between ordinary drip coffee and espresso. Think finer than a typical filter-machine grind, without turning the coffee into powder. A grinder's numbered setting only makes sense for that particular grinder; “setting 12” isn't a transferable recipe.
If the coffee falls through unusually quickly, a finer grind can help. If pressing is difficult, go a little coarser. Make a small adjustment rather than jumping from one end of the grinder to the other. The useful observation is how the next brew flows and tastes, not whether your setting matches someone else's.
Start with paper while learning this recipe. A reusable metal filter behaves differently: AeroPress explains that its larger openings let water through faster. If you've just switched to metal, faster dripping doesn't automatically mean your brewer is faulty. Level the grounds and pour slowly before deciding that the grind needs changing.
Pre-ground coffee is a practical starting point. Once you're comfortable with the routine, grinding whole beans just before brewing gives you another useful adjustment when a coffee is difficult to dial in.
Brew water and dilution water aren't the same thing
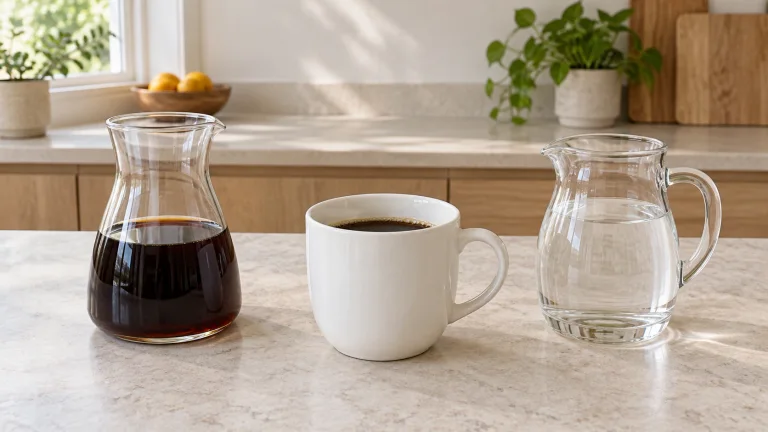
Brew water touches the grounds. Dilution water goes into the finished coffee. That second addition is often called bypass. Both affect the strength of your drink, but only the water in the chamber is there to extract the coffee.
 AI
AIFor a concrete alternative, Fábrica Coffee Roasters gives a concentrate recipe using 18 g coffee and 120 g water at 90°C / 194°F, followed by 120 g water after pressing. Its timing is a one-minute steep and roughly a 30-second press. Treat that as a complete alternative recipe, rather than adding its dilution step to the full-chamber starter above.
| Quantity | Amount | Why it matters |
|---|---|---|
| Ground coffee | 18 g | The dose stays the same throughout. |
| Water in the chamber | 120 g | 120 ÷ 18 = about 6.7 g brew water per gram of coffee. |
| Water added afterward | 120 g | This dilutes the pressed coffee without passing through the grounds. |
| Total water used | 240 g | 240 ÷ 18 = about 13.3 g total water per gram of coffee. |
The 240 g total is water input, not measured beverage yield. Some water remains with the grounds. If you want to record your finished serving, weigh the coffee you actually collect and then record the water you add. Don't enter a recipe's water total as though it were the amount in your cup.
If the pressed coffee tastes pleasantly concentrated, add water in small portions until it's comfortable to drink. If it's already weak, extra water won't fix it. Our coffee ratio calculator helps with dose arithmetic, but keep brew water and bypass separate in your notes.
Troubleshooting: choose the next useful adjustment
A little coffee drips through before you press
A few drips are normal with the standard cap. If much of the water escapes before stirring, first level the bed, pour slowly and fit the plunger promptly after stirring. If the next brew still drains rapidly, try a slightly finer grind. The manufacturer's dripping guidance makes this distinction between ordinary drips and excessive flow.
The plunger is hard to push
Don't bear down harder. Pressing too firmly can compact the grounds and make flow worse. Try gentle pressure, pausing for about five seconds between short movements. If repeated brews remain difficult, make the next grind a little coarser and look for a smoother, easier press. AeroPress's hard-press troubleshooting suggests a gentle press taking roughly 20–40 seconds. Stop if the brewer or mug becomes unstable.
The coffee becomes weak only after you add water
That points to dilution. On the next brew, taste the pressed coffee first and add less water afterward. If the undiluted brew is also thin, check that you've used the recipe's full dose and haven't combined a small concentrate dose with a large full-cup water quantity. This is a recipe-checking step before changing the grinder.
The undiluted coffee is sour and thin
If the dose is right and pressing is easy, try a slightly finer grind next time. Fábrica's troubleshooting recommends finer grinding or a longer steep for this symptom; start with the grind adjustment and compare whether the cup becomes fuller and less sharply sour. If pressing becomes difficult, back off that adjustment rather than forcing it. Acidity alone doesn't mean something went wrong—look for the combination of sharpness and a thin cup.
The plunger feels sticky even without coffee
That's a cleaning clue rather than a grind problem. Let the brewer cool, remove the seal and wash both sides with warm water and dish soap. Rinse and refit it, then check whether it moves normally. The maker's seal-cleaning instructions confirm that it pulls off without adhesive.
Clean it now, store it without compressing the seal
After brewing, let the hot parts cool enough to handle, remove the cap and push the used grounds into a suitable waste container. Rinse the chamber, cap and plunger. AeroPress says a rinse is sufficient for everyday cleaning; occasionally remove the seal for a more thorough wash. The Original can go on the dishwasher's top rack, while the Premium has different care requirements.
For storage, push the seal completely through the chamber instead of leaving it squeezed inside. That follows the manufacturer's storage advice. Keep the filter cap and dry papers where you'll find them together next time; a missing filter is a frustrating start to an otherwise quick brew.
Useful gear for a more repeatable AeroPress brew
Start with the AeroPress Original if you don't already own the brewer. Once you've found a recipe you enjoy, a grinder lets you adjust extraction and a scale helps you repeat the coffee dose and dilution. The starter recipe also works with ground coffee and the supplied scoop.
Coffee Corner may earn a commission if you buy through these links, at no extra cost to you. Affiliate disclosure.
 AI
AIThe brewer for this recipe
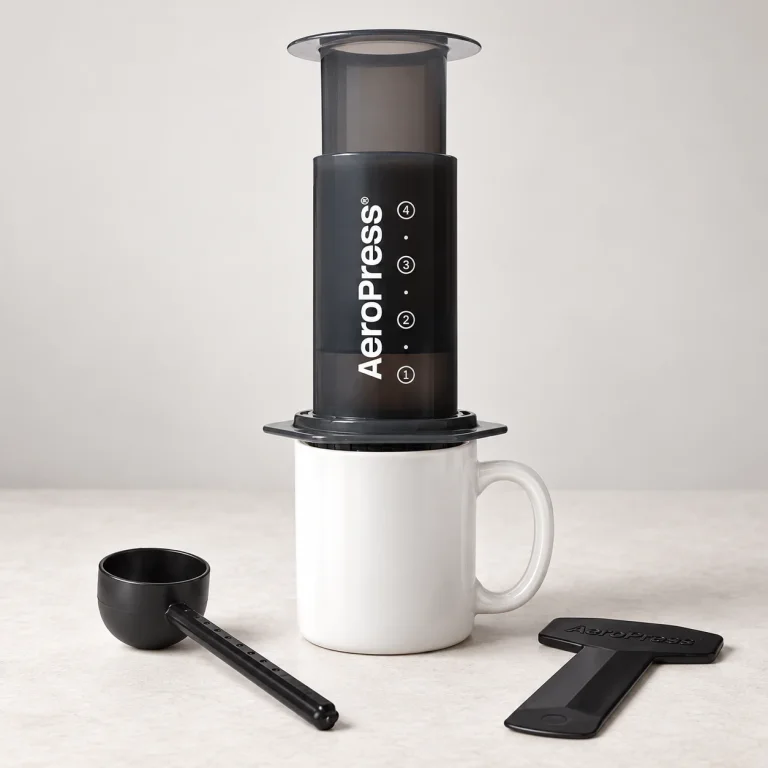
AeroPress Original
If you're buying your first AeroPress, choose the gray Original in the standard size to follow this guide. It uses the standard paper filters and comes with a scoop and stirrer, so you can start with ground coffee and a kettle. The Original's compact design also makes it easy to put away after brewing.
It's a hands-on brewer for a single serving, not a replacement for a batch coffee maker or a pump espresso machine. The larger XL needs its own filters and recipe adjustments; choose it for capacity, not because the product photos look similar. A mug is shown for context and isn't included with the standard Original.
 AI
AIFor freshly ground beans
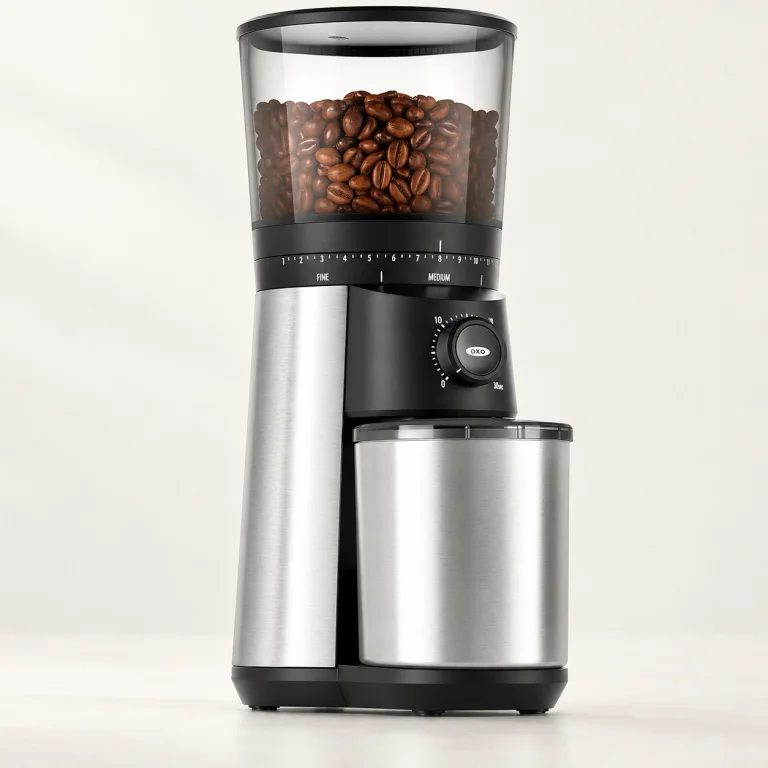
OXO Brew Conical Burr Grinder
The OXO makes sense for a home setup where you'd rather press a button than hand-grind each dose. Its adjustment ring lets you move finer or coarser, and the removable grounds cup is easy to empty into the AeroPress chamber. Start with the medium-fine grind described above; the lowest setting isn't automatically the right one.
The front dial sets grinding time, not coffee weight. Weigh the grounds after grinding when following a gram-based recipe. Keep the chute clean: OXO's manual notes that dark, oily beans can cause clogs. Unplug it before brushing out the chute, and don't wash the burrs.
 AI
AIFor coffee dose, water and timing
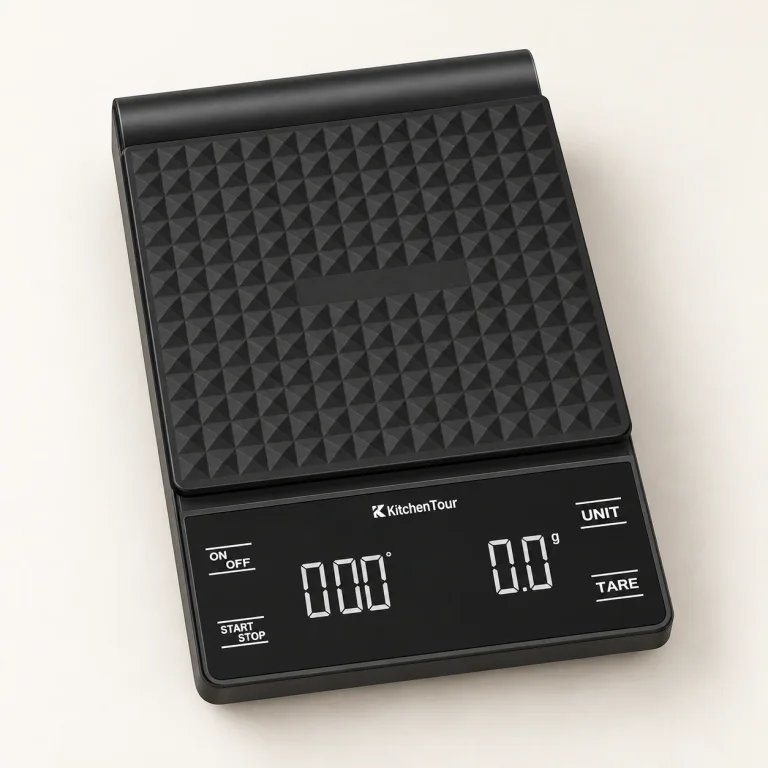
KitchenTour EK6002 Coffee Scale
This is a practical budget option for weighing coffee and tracking a short steep. The tare button zeros the weight of your dosing cup, and the separate timer keeps your phone out of the brewing routine. The display and removable silicone mat are useful everyday features; you don't need espresso flow-tracking functions for this recipe.
Use it on a dry, level surface and let the reading settle. For the dilution recipe, weigh the coffee first, then the brew water and added water separately. Move the mug and brewer onto a stable counter before pressing—don't push down on the scale. If readings drift while nothing is being added, check the batteries and surface before changing your recipe.
Common AeroPress questions
Can I use it without a scale or temperature-controlled kettle?
Yes. Follow the scoop, fill-mark and kettle options in the starter recipe. Use the supplied AeroPress scoop, not a household tablespoon; the amount is approximate.
Should I turn the brewer upside down?
Keep it upright. AeroPress discourages the inverted method because it can become unstable and spill hot water. Inserting the plunger slightly after stirring lets you hold a steep upright without introducing the flip.
Does the hiss mean I've ruined the coffee?
No. The hiss is air passing through after liquid. A lower water fill leaves more air, so it can make a longer hiss. You don't need to chase a particular sound or press harder to finish.
Does this make espresso?
It can make concentrated coffee for a milk drink, but it isn't the same as pump-machine espresso. AeroPress explains the pressure distinction in its official FAQ. For a café-style milk drink, our cappuccino guide explains the coffee and milk jobs separately.
Can I copy this recipe to an AeroPress XL or another model?
Don't assume the same numbered fill line means the same water quantity on another model. Start with your model's own instructions, matching its filter size and cap. Keep a recipe note that names the brewer, coffee dose, brew water and any water added afterward. Those details make another person's recipe much easier to interpret than a bare ratio.