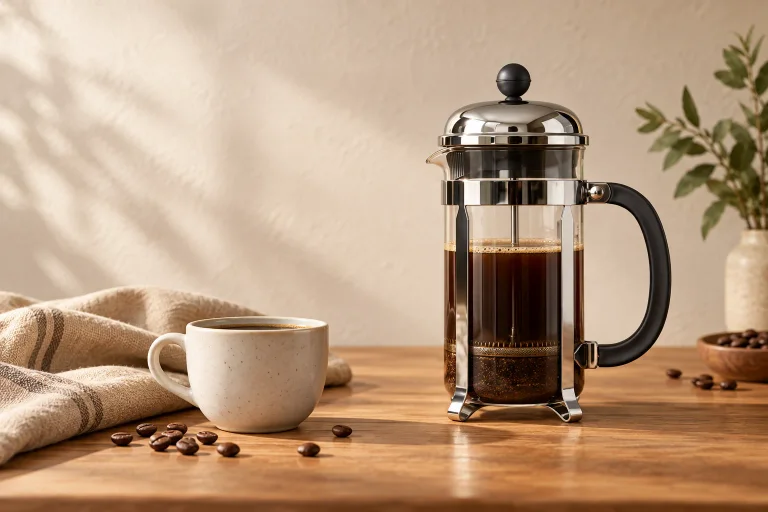

A good home cappuccino starts with a small cup, balanced espresso and milk that pours smoothly with its foam. Make the espresso first, add air to cold milk early in steaming, then roll the milk until the texture is fine and glossy. Pour promptly; a tall, stiff mound of bubbles is not the goal.
For a smaller milk drink with less foam, try a cortado. Its roughly equal parts espresso and steamed milk make the coffee more prominent than in a cappuccino.
A starting recipe for one cappuccino
- Coffee: 18 g in a double basket designed for that dose.
- Espresso: 36 g in the cup. Start by observing a 28–32-second extraction, then adjust for your coffee.
- Milk: about 120 mL cold whole milk, approximately ½ US measuring cup.
- Temperature: a dairy-milk starting target of 60–65°C / 140–149°F.
- Cup: around 180 mL / 6 US fl oz, with room below the rim.
The espresso quantities follow Heyday's starting recipe. Leave room for the foam when pouring; you may have milk left in the pitcher.
A 1:2 espresso ratio uses 18 g of dry coffee for a target of 36 g of espresso. For a different basket size, use its recommended dose and aim for twice that weight in the cup.
Choose the cup before making the drink
The familiar “equal thirds” description is a rough picture of espresso, milk and foam, not three ingredients you can measure equally before brewing. Foam contains air, and its volume changes as it settles.
For comparison, illy's cappuccino example uses 25 mL espresso and 85 mL cold milk for an approximately 150 mL drink. Different espresso recipes and foam styles produce different proportions.
Start with the small cup you intend to drink from. Filling a large mug with the same shot and extra milk will make a milder drink. If the espresso tastes balanced on its own but disappears in the cappuccino, pour less milk next time.

Prepare the espresso before judging the milk
- Warm the machine and cup. Wait for the ready signal, then empty the warming water from your cup.
- Prepare a dry basket. Add the basket-appropriate dose, spread the grounds evenly and tamp level. Avoid knocking the portafilter after tamping: Breville's puck-preparation guidance explains how uneven preparation can create easier paths through the coffee.
- Measure the output. With the cup on a tared scale, begin brewing and timing together. For the example above, stop near 36 g and note the elapsed time.
- Check the coffee before covering it with milk. On a practice shot, taste a small amount once it is cool enough. Is it sharp and thin, pleasantly balanced, or harsh and drying? Combine that observation with flow and time before adjusting.
Use time to compare shots, then adjust for taste. Espresso recipes vary: Intelligentsia uses roughly 1:2.5. Your coffee roaster's recipe is a useful next step once you can repeat the starting shot.
On a machine that switches between brewing and steaming, finish the espresso, select steam and wait for the machine's steam-ready signal. Having the milk, cloth and cup prepared beforehand makes that handover easier.
Making two cappuccinos without losing the rhythm
Set out both cups, weigh both coffee doses and have the milk ready before starting. If your machine cannot brew and steam at the same time, the simplest learning routine is one complete drink followed by the next. That makes it easier to judge each shot and stops a large jug of finished foam sitting while you troubleshoot espresso.
Once your shots are repeatable, you can prepare both espresso bases, then steam a batch of milk that fits your pitcher and machine's limits. Swirl the milk before each pour so the second cup does not receive only the thicker foam left at the top. If the jug is too small for two drinks, use fresh cold milk for each round rather than filling past its safe line.
A double basket split through two spouts gives each cup part of the same shot. It does not put a full 18 g dose into each drink. Decide whether you want two smaller single-shot cappuccinos or two drinks with separate double shots; keep that choice steady when comparing milk amounts.
After steaming, follow the machine's instructions for returning to brew mode. A single-boiler machine may need a cooling or refill step; a thermoblock or dual-boiler machine can have a different sequence. Use the machine-manual library for your model instead of guessing from another machine's routine.
Steam milk in two stages: add air, then roll
Use a clean pitcher with enough milk depth to position the wand and room for the milk to expand. La Marzocco suggests a 12 oz pitcher for smaller drinks.
- Start cold. Pour refrigerated milk into the jug, meeting any minimum fill mark even if that needs more than 120 mL.
- Purge condensation safely. Point the wand toward the drip tray, away from hands, and briefly purge as instructed by the maker. Stop the flow before positioning it in the milk.
- Add air near the surface. Put the tip just below the surface, slightly to one side, and start steaming. Aim for a controlled, gentle hiss and a modest rise in volume. If the milk splatters and the tip is exposed, raise the jug slightly so the tip stays submerged.
- Roll the milk. After adding the foam you need, raise the pitcher slightly so the tip sits a little deeper. Keep it off-center to circulate the milk. Small movements are enough; you are mixing fine bubbles through the milk, not driving the nozzle to the bottom.
- Finish at temperature. Use a milk thermometer while learning. Breville's cappuccino recipe gives 60–65°C for dairy milk. Do not keep introducing air until that endpoint: add the air earlier, then finish with circulation.
- Stop, then remove. Shut off steam before lowering the jug away. Hold the jug by its handle. Wipe the wand with a clean damp cloth and purge over the drip tray using your machine's sequence. Keep the cloth and fingers clear of an active steam jet; the wand remains hot.
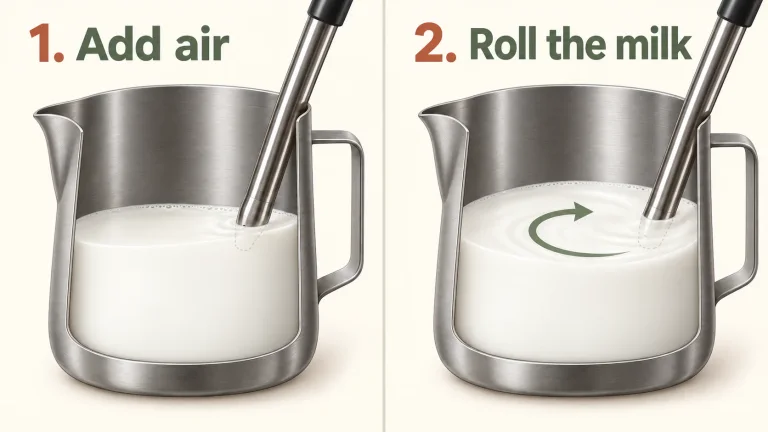
Breville's Barista Pro manual illustrates the steaming sequence.
Which milk works, and how hot should it be?
Start with whole milk while learning. For a dairy-free drink, choose a barista plant milk and use the temperature recommended on its carton.
La Marzocco's Linea Mini guide favors about 60°C; Breville recommends 60–65°C. Plant milks can differ: Alpro specifies 60°C for Barista Almond and 65°C for several other Barista varieties.
If your cappuccino cools too quickly, warm the cup and pour sooner before increasing the milk temperature.
Pour promptly: practical tips that make a difference
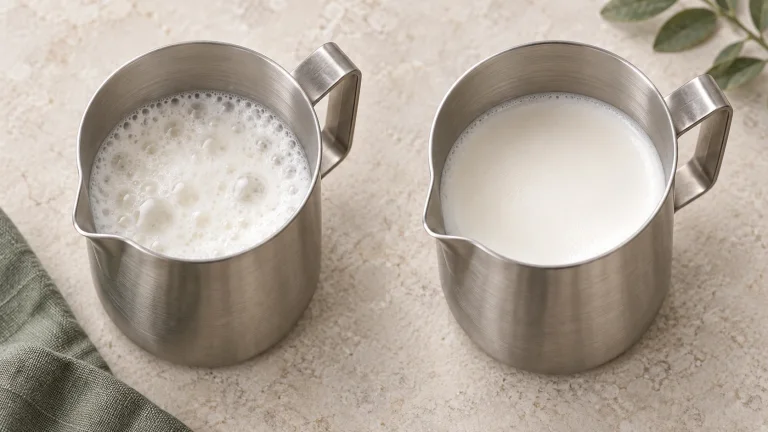
Gently tap the pitcher to break a few surface bubbles, then swirl until the milk looks glossy and moves as one liquid. Pour promptly: La Marzocco notes that milk and foam separate as they stand.
Begin pouring into the espresso with a controlled stream. As the cup fills, bring the spout closer to the surface to let more foam come forward. Stop short of the rim. A smooth, integrated drink matters more than drawing a heart.
- Prepare one drink consistently. Use the same cup and milk quantity while learning. A new mug changes how much milk you pour and can hide progress with the espresso.
- Watch the surface, not just the sound. A little controlled air incorporation should give way to circulating milk. Continual loud bubbling is a cue to correct the tip position.
- Keep a short note. Record dose, espresso yield, time, milk type and the problem you want to fix. “Too milky” and “espresso ran fast and sour” call for different changes.
- Leave decoration until last. Practice without cocoa or syrup so you can compare the coffee and milk clearly. Add them afterward if that is how you enjoy the drink.
Troubleshooting: choose the next useful adjustment
Use flow and texture to narrow the problem before changing the recipe. The espresso adjustments below follow Breville's grind guidance; the milk adjustments apply the two steaming stages above.
- Weak or overly milky
- If the espresso tastes balanced before adding milk, keep the shot unchanged and stop the next milk pour earlier. Look for clearer coffee flavor. If the espresso itself is thin and runs fast, use the next check instead.
- Sour espresso with unusually fast flow
- Keep the dose and target yield fixed; move the grinder one small step finer. Observe whether the same yield takes longer and tastes less sharp. If time and flow are already normal, do not keep grinding finer solely because the beans taste bright.
- Harsh espresso that drips very slowly
- If the basket is overfilled, return to its recommended dose. Otherwise, try one small step coarser at the same dose and yield. Look for steadier flow and less drying bitterness.
- Hot milk with almost no foam
- If milk circulated but barely expanded, the tip may have stayed too deep. On the next cold batch, hold it a little nearer the surface during the initial aeration stage. Look for modest expansion before moving deeper.
- A stiff foam cap above watery milk
- If volume rose rapidly while the wand kept drawing air, shorten the air-adding stage next time and begin rolling sooner. The milk should pour together rather than drop out in clumps.
- Large bubbles and splashes
- If the tip keeps breaking the surface, raise the pitcher slightly to submerge it more consistently. Look for a calmer surface and finer bubbles.
- Milk will not circulate
- If the tip is centered, shift it slightly toward one side without touching the wall. Look for a rolling motion. If steam output itself is weak, stop and check the exact manual's cleaning procedure instead of repositioning indefinitely.
No espresso machine or no scale?
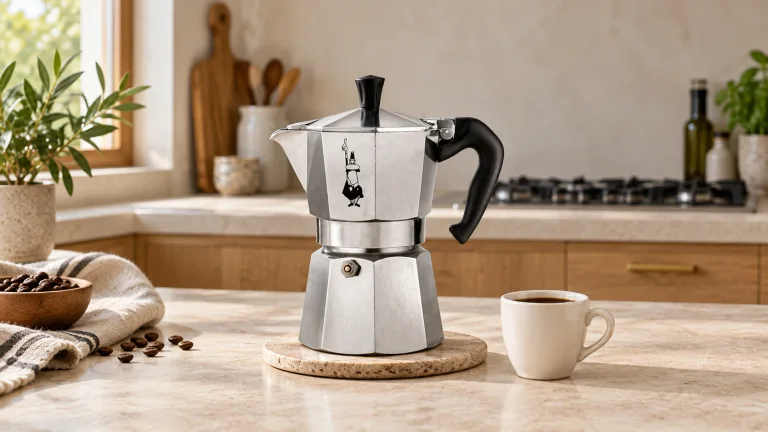
Without an espresso machine: use concentrated moka-pot coffee and separately frothed milk for a cappuccino-style drink. Follow our moka-pot guide to brew the coffee.
For this approximate volume recipe, Starbucks Coffee at Home uses 2 US fl oz coffee (about 60 mL or ¼ US measuring cup) and 4 US fl oz milk (about 120 mL or ½ US measuring cup). Choose a cup with room for the foam.
Heat milk gently to about 60°C / 140°F without boiling, then pour it into a stable, heatproof vessel with room for expansion. With a whisk, follow Starbucks' technique: start low in the milk and work toward the developing froth. A handheld frother also works; keep its head submerged and switch it off before lifting it out.
Without a scale: use your machine's basket-dosing instructions and preset double-shot button, or the volume recipe above. Keep the same coffee and cup while comparing results. Weighing is more repeatable because crema changes the shot's volume.
Finish with clean equipment and fresh milk
Pour only the cold milk you need, keep the carton refrigerated, and clean the pitcher between rounds. Do not return steamed milk to the carton or repeatedly top up a warm pitcher with fresh milk. For a second practice attempt, start with a clean jug and a fresh cold portion so the temperature and texture are comparable.
The FDA recommends refrigeration at 40°F / 4°C or below and prompt chilling of perishable foods. The steaming temperature here is a drink-preparation target, not a way to make poorly stored milk safe. Keep milk alternatives according to their labels once opened, too.
Wipe and purge the wand promptly using your machine's sequence. If residue has dried onto the tip or steam is uneven, let the machine cool and use the exact cleaning procedure for the removable parts. Do not push a random pin into a powered, hot wand or soak parts the manual says to keep dry. Our espresso-machine cleaning guide separates daily cleaning from descaling.
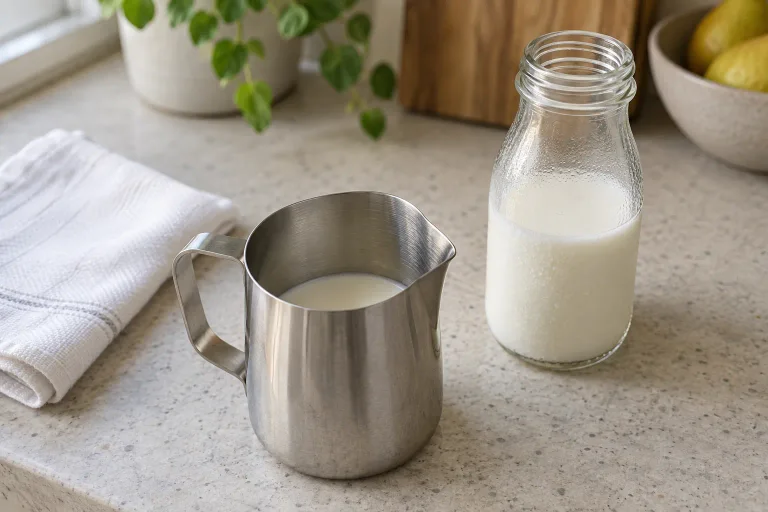
Cappuccino gear for your setup
Choose the tools that suit your brewer. A steam-wand machine already handles the milk; a moka pot or manual espresso maker needs a separate frother.
We may earn a commission when you buy through our links. As an Amazon Associate, we earn from qualifying purchases. Read our affiliate disclosure.
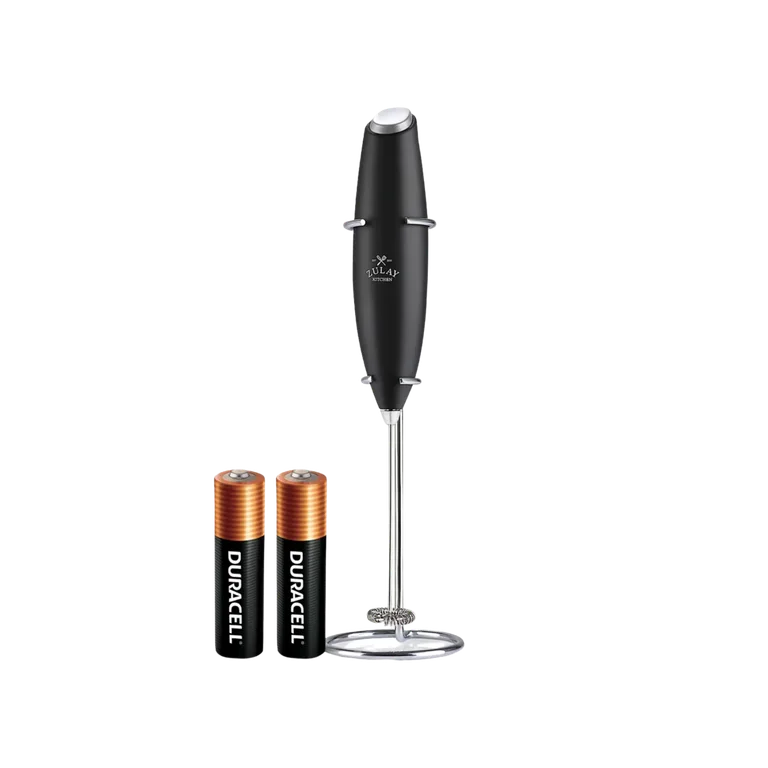
A simple handheld option for separately heated milk
Zulay Milk Boss
For a moka-pot cappuccino-style drink, the Milk Boss adds foam without another countertop appliance. This black version uses two AA batteries and includes a wire stand. Heat the milk separately, then froth it in a roomy, heatproof vessel. It is a straightforward choice for a foamy topping; do not expect it to reproduce a steam wand's fine milk texture.
Submerge the whisk before switching it on, and switch it off before lifting it out. Rinse the whisk promptly and wipe the handle clean; keep the battery housing out of water.
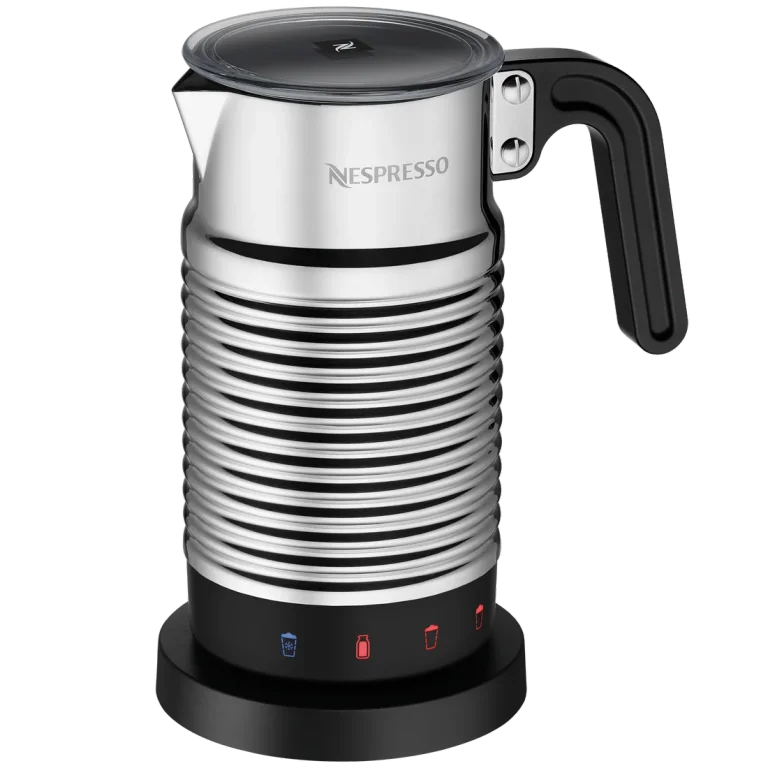
Simple hot-foam programs
Nespresso Aeroccino4
A simpler pairing for coffee from a capsule machine or moka pot: Nespresso's refreshed Aeroccino4 offers hot milk, cold foam and two hot-foam styles. Select the airy hot-foam program for a cappuccino-style drink. This silver version is model 4194.
For foam, stay at or below the 120 mL maximum. The higher 240 mL line is for heating milk without frothing.
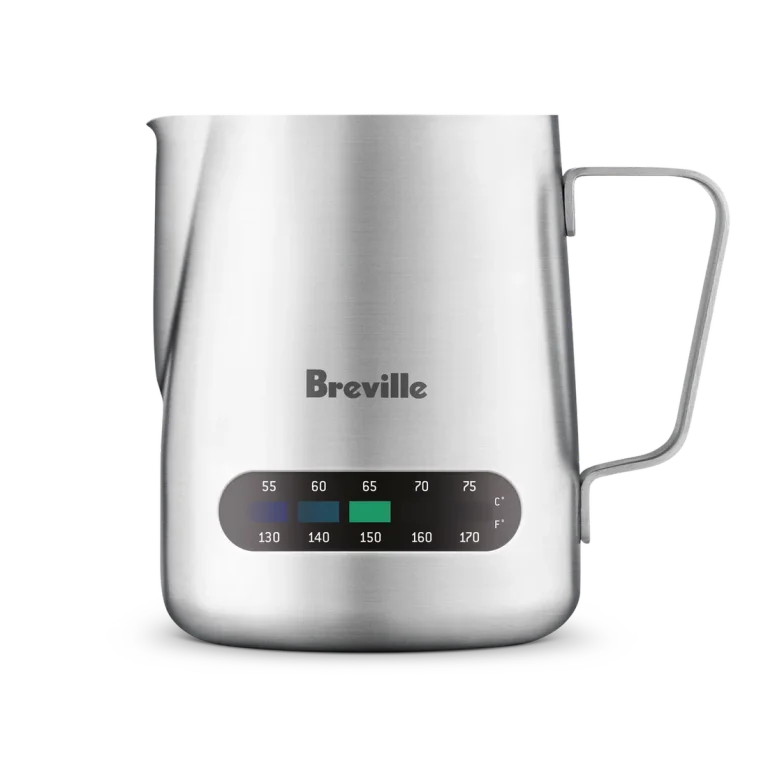
A visible temperature cue while steaming
Breville Temp Control Milk Jug
The BES003XL jug has a temperature-indicator strip to help you watch the milk as you steam. Check that its size suits your wand and usual milk batch. If your supplied pitcher works well, a milk thermometer may be all you need.

Repeatable espresso dose and yield
Wacaco Exagram Pro
This compact scale and timer helps you compare shots by dose, output and time. Wacaco lists a 90 × 95 × 22 mm body and 0.1 g display steps below 1 kg. Check that the scale plus your cup fits under the spouts.
Use manual weighing and timing for your first shots, and keep the scale out of the steam wand's purge path.
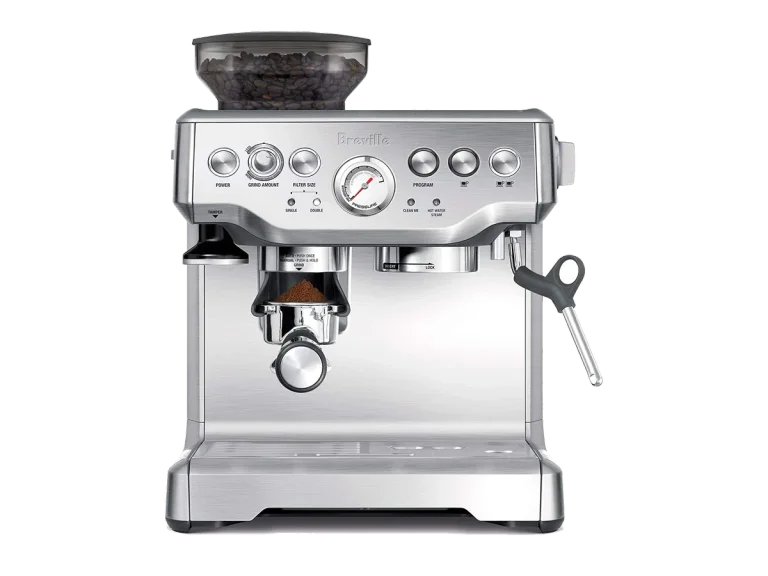
Grinder, espresso and a manual steam wand
Breville Barista Express BES870XL
The Barista Express combines an integrated grinder with espresso brewing and a manual steam wand. Breville includes a milk jug, so you can begin without buying another one. This is a complete coffee setup, but the wand still needs the aeration-and-rolling technique explained above.
Use our Barista Express review for the broader buying decision and its model-specific manual for operation and cleaning.
Cappuccino FAQs
What does “dry” or “wet” cappuccino mean?
These ordering terms describe the milk balance: a dry version emphasizes foam, while a wet version includes more liquid milk. They do not define a universal dose or cup size. At home, make the standard recipe repeatable first, then change the amount of foam and milk you pour. Milk and foam should still taste pleasant together rather than turning into a stiff, dry topping.
Can I make an iced cappuccino?
For a cold espresso-and-milk drink, follow an iced-latte recipe and add separately prepared cold foam if your frother supports it. Hot steamed milk over ice changes both dilution and texture. Our iced-latte method gives measured quantities; café names for cold cappuccino-style drinks vary.
Can I use an automatic milk frother?
Yes. Select its cappuccino or hot-foam program and fill to the frothing marks. The Aeroccino4 above is one option if your coffee maker has no steam wand.
Do I need latte art?
No. The practical goal is milk and fine foam that pour together into the espresso. A recognizable pattern is optional. If the cup tastes good but the heart fails, practice the pour without changing a successful espresso recipe.
How is this different from a latte?
A cappuccino generally puts more emphasis on foam and uses a smaller milk serving. Café sizes vary, so compare the coffee dose and milk quantity, not just the name. See our coffee-drinks comparison or the separate latte guide for that drink's method.