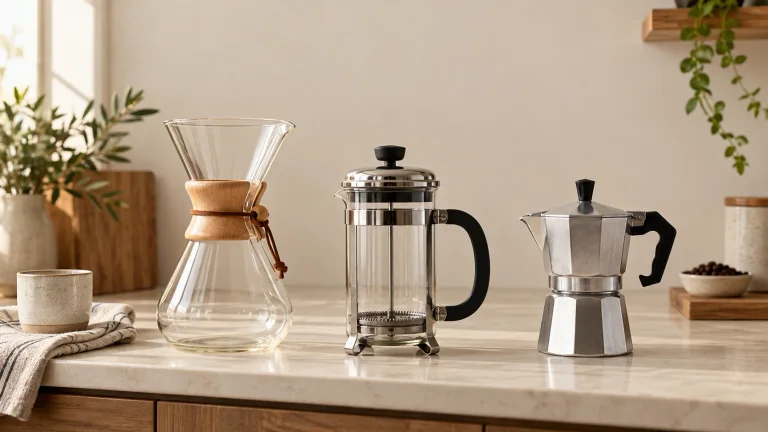
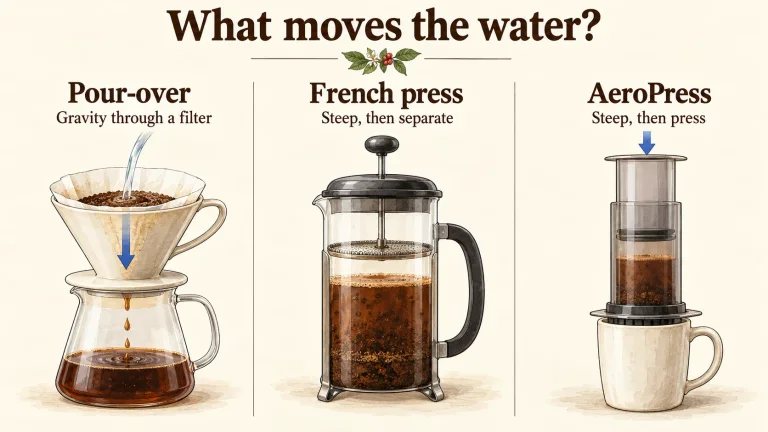
Choose automatic drip for a shared breakfast pot, pour-over if you enjoy pouring, or French press if you prefer a steep-and-plunge routine. AeroPress makes a small manual brew; moka makes concentrated stovetop coffee; cold brew needs preparation the day before. The best starting point is a method that fits your routine and the amount you want to serve.
Once you have chosen a method, use these practical coffee station ideas to make room for preparation, brewing and cleanup without crowding your kitchen.
Below are six methods, with V60 and Chemex as two pour-over examples. Start with one recipe, keep the dose and water steady, and change the grind only after tasting the cup.
Choose by batch, equipment and attention
| Method | Starting batch | What you need and do |
|---|---|---|
| Automatic drip | 1 liter of water in the example | Machine, compatible filter and carafe. Load it, then let the machine deliver the water. |
| Pour-over | 320 g water for V60; 700 g for Chemex | Dripper, paper, kettle, scale and timer. Stay with it for successive pours. |
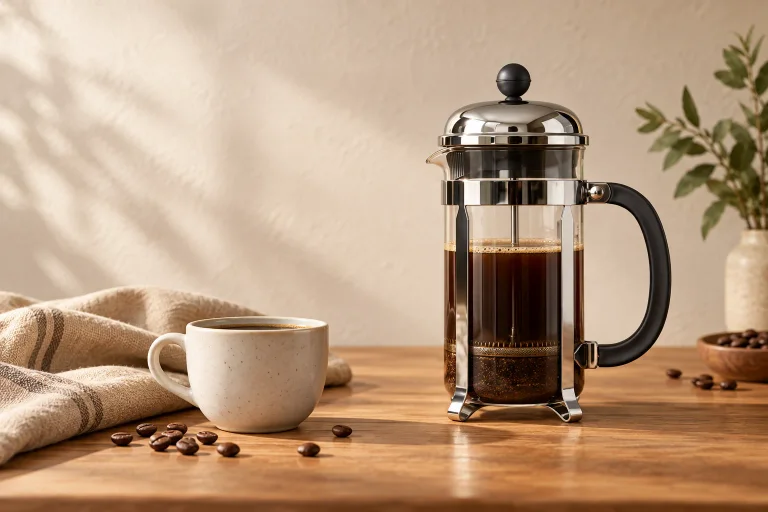
| French press | 850 g water in a 1-liter press | Press, kettle, scale, spoon and timer. Steep, plunge gently and pour out the batch. |
| AeroPress | One Original chamber to its #4 mark | Brewer, filter, kettle and sturdy mug. Stir, wait briefly, then press. |
| Moka pot | Determined by the pot's size | Pot and compatible stove. Fill its chambers correctly and watch the heat. |
| Cold brew | 400 g water for a small concentrate batch | Jar, refrigerator, strainer and paper filter. Steep overnight, filter and dilute. |
For two large morning mugs, compare actual water capacity before choosing a brewer. A manufacturer's “cup” is not necessarily your mug: Chemex counts cups in 5-fluid-ounce increments. Grounds retain water, so water added and coffee served are different quantities.
The ratios here mean dry coffee to brew water by weight. For example, 20 g coffee with 320 g water is 1:16. Use the brew ratio calculator to scale an appropriate recipe within your brewer's capacity. Espresso recipes instead often state coffee dose to finished drink weight; see the espresso explanation.
Choose the cup you want, not the most complicated brewer
First decide whether you want a full mug of black coffee, a concentrated base for milk, or a batch waiting in the refrigerator. Those are different jobs. Buying a moka pot for a large breakfast pot or making cold brew when you need coffee in five minutes creates work that another method avoids.
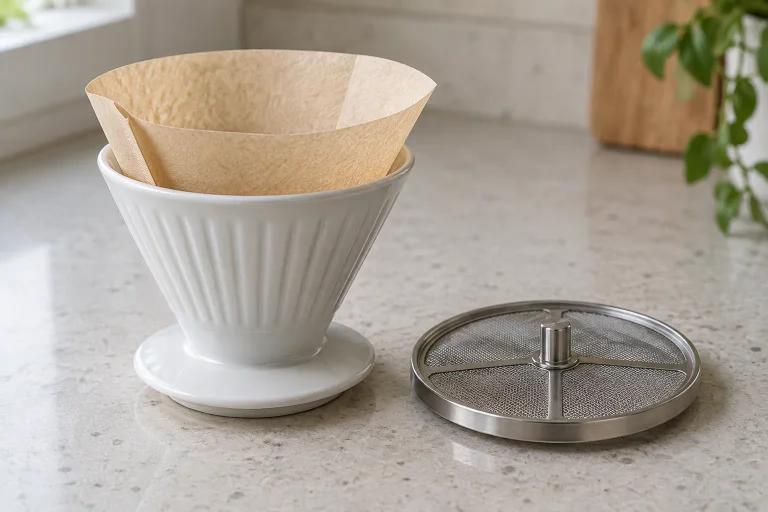
- For a clear cup with little sediment: start with a paper-filtered drip machine or pour-over. Paper catches particles that a mesh filter can let through. Chemex describes its bonded filters as removing sediment and fats; a metal-filter substitution will change the cup.
- For a fuller texture: try French press. Expect some fine particles, pour gently and leave the last muddy splash in the brewer. A heavier mouthfeel does not by itself mean more caffeine.
- For one short, hands-on brew: use an upright AeroPress. You do not need the inverted method to start; keeping the chamber supported on a mug avoids turning over a vessel of hot coffee.
- For coffee to combine with warm milk: consider moka. It makes a concentrated drink, but the brewing procedure and pressure are different from pump espresso. Our cappuccino-style recipe explains the milk step.
- For serving several people: check the brewer's usable batch size and your cups before focusing on its label. One larger brew may be easier than repeating a small manual recipe four times.
Chemex's filter and capacity guidance illustrates why two brewers with similar-looking glass carafes can behave differently. Choose the filter, vessel and recipe as a set.
Water, grind and measurements that transfer between methods
Use fresh drinking water you enjoy on its own, and follow any water restrictions in your machine manual. If the finished cup has an odd smell, taste the cold water separately and check the clean cup and brewer before changing the coffee. A more expensive bag will not solve a dirty carafe.
Grind words are approximate. “Medium” on a bag and the middle number on a grinder are not universal standards. Start with the recipe's description, then judge how the water moves and how the coffee tastes. Pour-over needs grounds that drain; French press needs a grind that works with the mesh; moka needs its maker's specified moka grind rather than fine espresso powder.
For water, 1 g is approximately 1 mL at normal kitchen measuring temperatures. One US measuring cup is about 237 mL, so 320 g water is about 1⅓ cups and 700 g about 3 cups. Those rounded cup figures help visualize the batch; use the gram totals for the timed pours below. Coffee grounds cannot use the same conversion: roast, grind and how tightly you fill a spoon all change their weight. NIST's household measures distinguish liquid volume from weight.
Keep a short note with the coffee, dose, water and grind. “20 g / 320 g, one step finer, less sharp” is useful. A long list of equipment settings is less helpful if you changed the beans, temperature and ratio at the same time. The coffee-tasting guide gives simple language for the difference between strength, bitterness and acidity.
1. Automatic drip: a shared pot
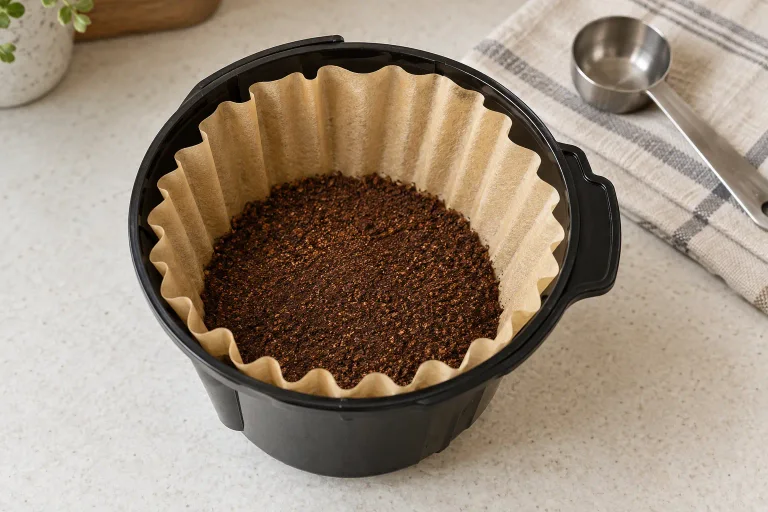
Drip brewing sends water through grounds held in a filter. For a Moccamaster batch, start with 55 g coffee and 1,000 g water, approximately 1 liter, following the maker's dosing guidance. Its operating instructions specify medium-coarse grounds.
- Put the measured cold water in the reservoir using a clean pitcher.
- Fit the correct paper filter, add the grounds and level them without tamping.
- Seat the basket and carafe. Set any basket control or batch selector for the quantity you are brewing, following your model's instructions.
- Start brewing. Leave the carafe in place until the cycle and dripping finish, then serve.
The machine controls water delivery, but its smallest supported batch still matters. Do not assume a large brewer can make one small mug equally well. A stale taste despite fresh beans is a reason to check cleaning and descaling.
2. Pour-over: V60 or Chemex
Pour-over puts you in charge of water delivery. Use the recipe for your dripper: a V60 and a Chemex have different shapes and filters, so the same timing need not suit both.
V60: 20 g coffee, 320 g water
Baratza's recipe uses medium to medium-coarse grounds and 210°F water, approximately 99°C.
- Set the dripper and matching filter on a heat-safe cup or carafe. Rinse with hot water; discard the rinse.
- Add coffee, level the bed and zero the scale.
- Start the timer. Pour 40 g water and swirl gently; wait until 0:30.
- Pour over the grounds to 140 g total. Pause about 10 seconds; pour to 240 g. Pause again, then finish at 320 g. Avoid pouring onto the paper.
- Let it drain and swirl before serving. Baratza targets under three minutes; taste matters more than exact timing.
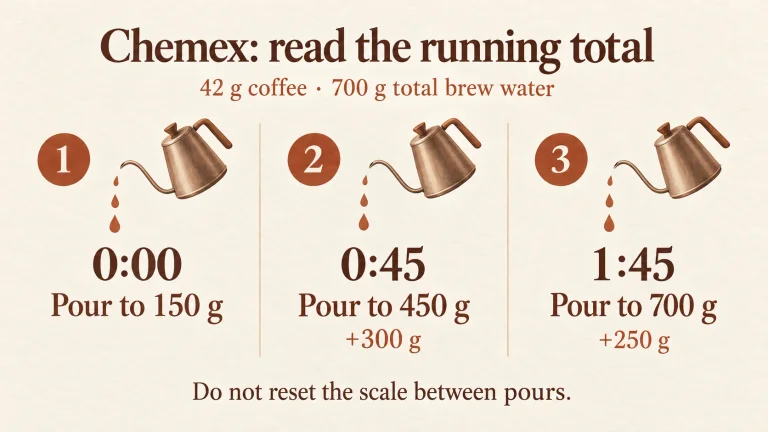
Chemex: 42 g coffee, 700 g water
For Stumptown's 8-cup Chemex recipe, use medium-coarse grounds and just-off-boil water, about 205°F / 96°C.
- Fit the bonded filter's three-layer side toward the spout, leaving its air channel clear. Rinse; discard the rinse water.
- Add coffee, level it and zero the scale. Start the timer; add 150 g water and stir to wet dry pockets.
- At 0:45, pour to 450 g total; at 1:45, to 700 g. Pour gently, below the rim. Do not reset the scale.
- Around 4:00, check for coffee near the 20-fluid-ounce bubble. Lift the filter, allow a brief drip if needed, then remove it to drain into the sink. Swirl and serve.
The scale shows running totals: you add 150 g, then 300 g more, then 250 g more. Do not add 450 g and 700 g as separate pours. The water retained by the grounds means the coffee in the carafe will weigh less than 700 g.
Choose the brewer and paper together; our pour-over equipment guide explains the options.
3. French press: steep, then separate
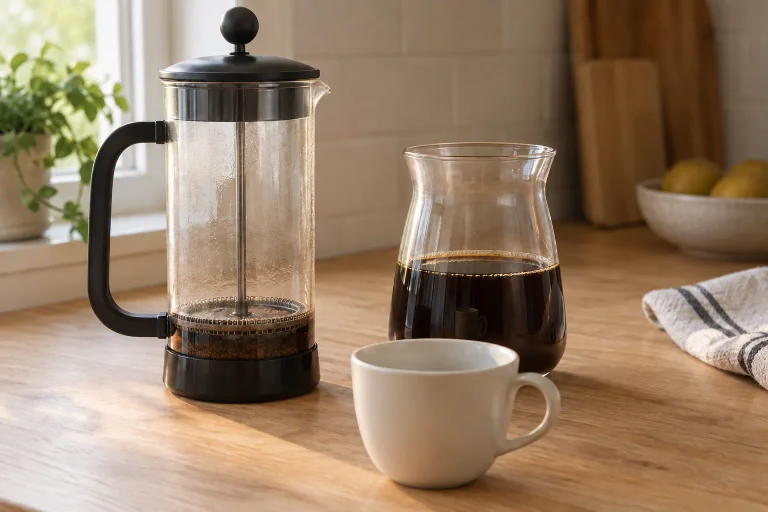
A French press immerses the grounds before a mesh plunger separates most of them. Some fine particles can remain. For a 1-liter press, this Stumptown starting method uses 56 g coarse coffee and 850 g water at about 205°F / 96°C.
- Preheat the press, discard the water and add the grounds.
- Start the timer and add 450 g hot water. Rest the lid on top without plunging.
- At one minute, stir gently and add water until the scale reads 850 g total.
- At four minutes, place the press on a stable counter and lower the plunger slowly. Never force a resistant plunger.
- Pour the coffee into cups or a separate carafe instead of leaving it over the grounds.
Use the French press ratio and size guide for a smaller starting recipe. Leave space below your press's fill limit rather than scaling to the brim.
4. AeroPress: a small upright brew
AeroPress combines steeping with gentle pressure through a filter. The maker's Original recipe uses 16–18 g medium-fine coffee and 185°F / 85°C water. Go and XL differ.
For the complete upright recipe, water and dilution examples, and fixes for a difficult press, see how to use an AeroPress.
- Secure the paper filter and cap. Stand upright on a sturdy mug on a level counter.
- Add and level coffee. Fill to #4; initial dripping is normal.
- Stir three seconds. Insert the plunger half an inch, pull up slightly and wait 30 seconds.
- Press gently through the hiss. Never force it.
- Let the cap cool before removing it. Eject the puck into a bin; rinse.
5. Moka pot: concentrated stovetop coffee
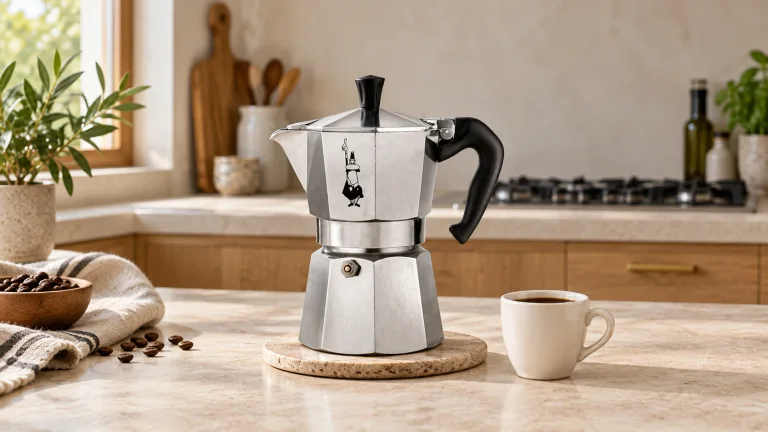
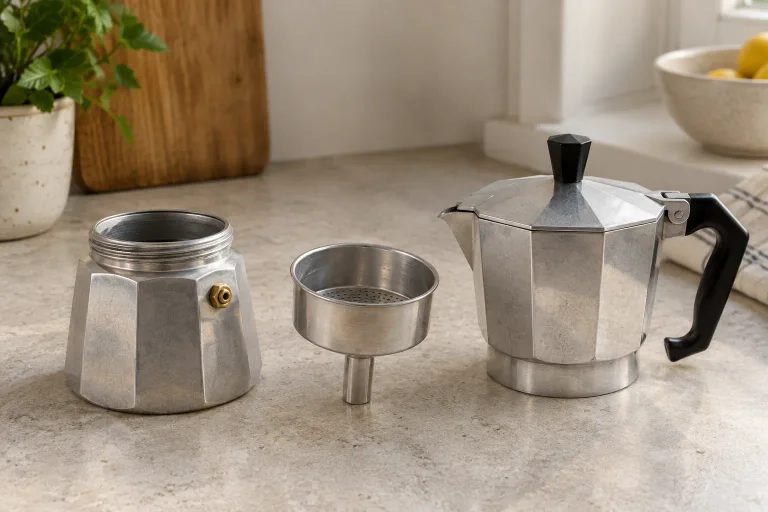
A moka pot uses heated water's pressure to brew concentrated coffee. Follow Bialetti's Moka Express manual:
- With the pot cool, add cold water just below the safety valve. Keep the valve clear and facing away.
- Fill the funnel with moka-ground coffee, without tamping. Clear grounds from the rim; assemble firmly without using the handle as a lever.
- Close the lid. Use low-to-medium heat on a compatible stove, keeping flames beneath the base.
- Watch it; remove from heat when the upper chamber is full. Use the handle and a heatproof resting surface.
- Let it cool completely before opening and cleaning.
Use the pot's prescribed fill levels; weights vary with size. Do not make a smaller batch by guessing at a half-filled funnel. If the safety valve vents or the pot leaks unexpectedly, turn off the heat, keep clear and let it cool completely before checking the manual; never try to tighten a hot pot. Standard aluminum Moka Express models do not work directly on induction.
For model-specific setup and fixes for leaks, valve venting or a stalled brew, see how to use a moka pot.
6. Cold brew: prepare ahead
This small-jar adaptation of OXO's cold-brew method uses 100 g coarse coffee to 400 g cool water, or 1:4. It makes concentrate; it is not OXO's exact device recipe.
- Combine coffee and water in a clean, food-safe jar of at least 750 mL. Stir to wet the grounds and cover.
- Refrigerate for 20–24 hours.
- Strain out the large grounds, then let the liquid drain through a paper coffee filter into a clean bottle.
- Cover, date and refrigerate the concentrate. Start a serving with 60 mL concentrate plus 120 mL water; add milk only when serving if desired.
Keep the refrigerator at 40°F / 4°C or below. Make a small supply and discard it if handling is uncertain. Our full cold-brew guide covers dilution, filtration and storage limits. Hot coffee brewed over ice is a different method.
Troubleshooting: choose the next experiment
Keep the other recipe details steady while comparing one change. A stronger drink and a better-extracted drink are not always the same thing.
- V60 tastes sharp and drains unusually quickly: if the dose and total water match the recipe, try a slightly finer grind next time. Look for less sharpness and slower drainage. Baratza supports this adjustment; leave a quick brew alone if it tastes good.
- Pour-over stalls: check that paper is not blocking the Chemex air channel. If the filter is seated correctly but flow stays slow, try a slightly coarser grind next brew. Compare drainage and taste; do not squeeze the paper. OXO's pour-over guidance explains the grind-and-flow relationship.
- French press is strong enough but sour: try a slightly finer grind without making it fine enough to pass through the mesh. Look for less sourness without extra grit. For a sufficiently strong but bitter cup, try coarser instead, as OXO recommends.
- Cold brew is overpowering but otherwise pleasant: change the serving dilution before the brew. Try 60 mL concentrate with 180 mL water instead of 120 mL. Compare the two drinks; OXO's 1:3 serving option is lighter than 1:2.
Frequently asked questions
Can I brew without a scale?
For AeroPress Original, use one heaping supplied scoop, then follow the #4-fill recipe above. It is approximate, not a tablespoon conversion. Store-bought medium grounds need the maker's 60-second wait.
Do I need a temperature-control kettle?
No. For the Stumptown French press and Chemex recipes, bring water to the boil and use it just off the boil. That is an approximate alternative; altitude and cooling affect the actual temperature. Avoid repeatedly boiling water while trying to guess an exact degree.
Which method makes espresso?
None of these is a pump espresso recipe. Moka and AeroPress can make concentrated coffee for milk drinks, but they do not substitute directly for a machine's espresso settings or yield ratio.
Where should I go next?
Pick one method, follow its recipe and note the change you want in the next cup. Brew School collects the full guides. Follow the hot-liquid and pressure precautions beside each step and our coffee preparation safety guidance.