Who the Luxe Thermal makes sense for
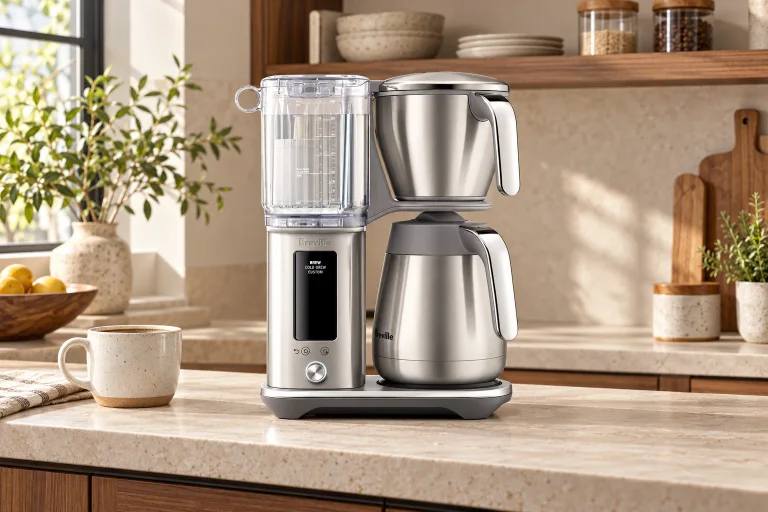
The Breville Luxe Brewer Thermal is worth considering for a household that wants a generous pot of filter coffee, a removable tank and control over the recipe. Its 1.8-liter capacity is useful when several people want refills. The stainless thermal carafe keeps the coffee off a warming plate, while the dial lets you adjust the brew without a phone.
It needs a more cautious recommendation if your priority is dependable, uncomplicated daily brewing. Recent owners describe both coffee they enjoy and problems with incomplete batches, overflowing baskets or loose showerhead parts. The brushed-steel Thermal listing’s 3.3/5 from 134 global ratings is a reason to examine those complaints, not overlook them because the machine has attractive controls.
This review covers the US BDC465 Thermal, specifically BDC465BSS. The BDC415 has a glass carafe and warming plate; the older Precision Brewer has different menus. Instructions and owner experiences do not transfer automatically between them.
Check the counter before choosing the machine
Plan the working space as well as the footprint. You need to lift the water tank, open the basket and bring the carafe forward without knocking cups or shelving. Breville’s published dimension sets conflict, so ask for the exact unit’s measurements if you’re fitting it into a tight recess.
The US manual requires a stable, heat-resistant surface and at least 4 inches of clearance from all side panels. Don’t operate it inside a cabinet. A removable tank makes filling easier, but it doesn’t remove the need for access and ventilation.
Think about the second drink, too. Will everyone pour from the carafe, or does one person leave with a travel mug? Measure that mug against the space beneath the basket before buying. A short cup can be more practical than trying to fit a tall bottle directly under the outlet.
First setup: water hardness, filter and flush
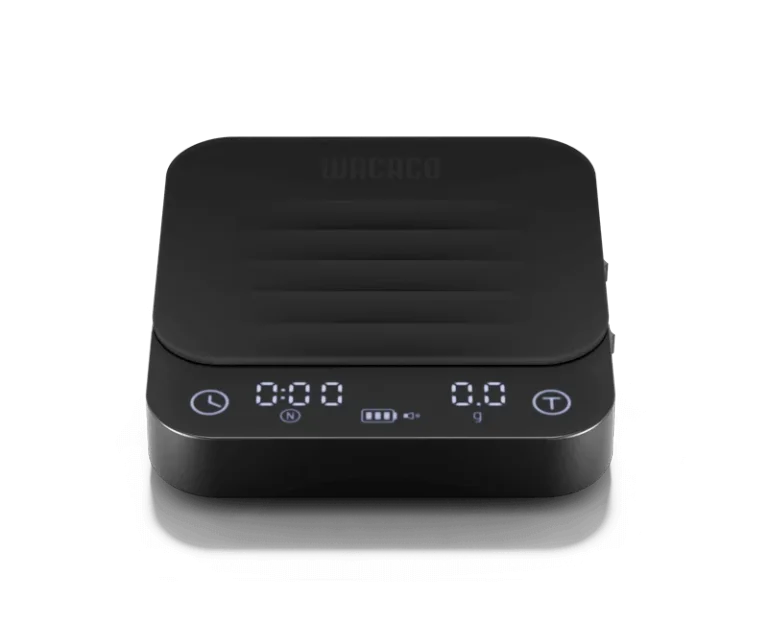
The box includes the thermal carafe, cone insert, mesh filter, starter flat-bottom papers, scoop, hardness strip and water filter with adapter. You’ll still need ground coffee or a separate grinder. Keep the supplied scoop: it gives you a workable starting point without a scale.
- Wash the removable brewing parts in warm soapy water, rinse and dry. Check that the basket’s drip-stop valve moves freely.
- Test the water you’ll actually brew with. Dip the supplied strip for one second, wait one minute and enter the indicated hardness. If four or five bars appear, Breville advises trying another water source and testing again.
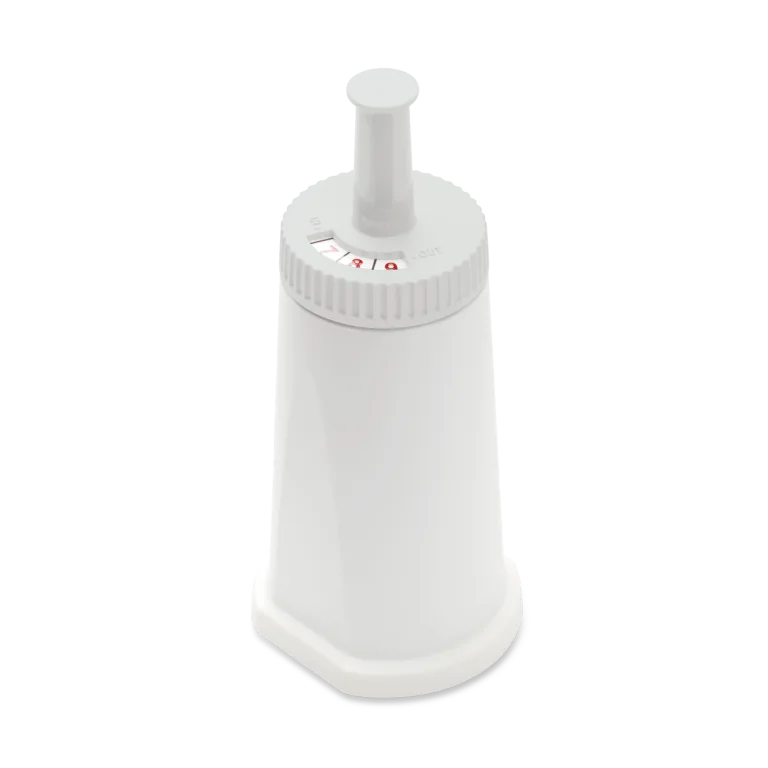
- Prepare and fit the water filter according to its instructions. Use cold drinking water, preferably filtered. The manual excludes distilled, demineralized and reverse-osmosis water.
- Fill to the carafe maximum, leave the basket empty and seat the empty carafe with its lid fitted. After the hardness setting, the display shows 02:00: press the dial to start the initial flush. Empty the carafe afterward.
Set the clock if you’ll use delayed brewing. These are the maker’s first-use steps; the flush is separate from making your first coffee.
Match the batch, basket and receiving vessel
The Luxe brews the water you put into the tank. It isn’t a reservoir to fill once for several separately selected drinks. Measure the batch first, then choose the filter and receiving vessel. A small amount of water left behind can be normal; a substantial unfinished batch is a different issue.
| What you’re making | Basket and filter | Where it goes |
|---|---|---|
| One mug, below the tank’s Single Serve line | Cone insert with a suitable cone paper | Empty cup; stay within its capacity. If using the carafe, remove its lid. |
| Hot batch up to 8 maker cups / 1.2 L | Cone insert and cone paper | For a batch above Single Serve, use the carafe with its lid locked on. |
| Hot batch above 1.2 L, up to 1.8 L | Remove the cone; use flat-bottom paper or the supplied mesh | Carafe with lid locked on |
| Cold brew, up to 600 mL water | Large flat-bottom paper; remove cone and mesh | Carafe with lid removed |
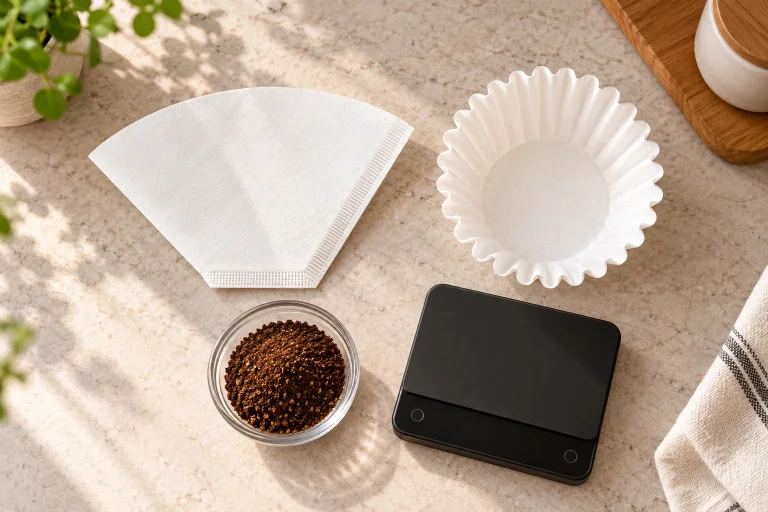
Never combine paper and mesh filters. For the flat basket, the manual specifies 8–12-cup papers with a base about 3¼ inches across. Seat the paper fully and keep its edge clear of the basket lid. The brewing instructions cover each configuration.
 AI
A repeatable starting recipe
Start with a medium-to-coarse drip grind and the regular hot-brew setting. Breville’s full-pot recommendation is 99 grams for 1.8 liters, equivalent to 55 grams per liter. The table scales that recipe; the water amounts are what you add, not promised finished yields.
| Water added | Starting coffee dose | Level Breville scoops, approximately |
|---|---|---|
| 300 mL | 16.5 g | 2 |
| 600 mL | 33 g | 4 |
| 900 mL | 49.5 g | 6 |
| 1.2 L | 66 g | 8 |
| 1.5 L | 82.5 g | 10 |
| 1.8 L | 99 g | 12 |
For example, a 900 mL batch starts at 0.9 × 55 = 49.5 grams, using the cone and paper. Fit the carafe lid, click the tank into place and start the brew. Don’t remove the basket or carafe while brewing. Wait until the cycle finishes before pouring.
The scoop figures follow Breville’s dose chart, not a universal spoon-to-gram conversion. A maker “cup” here is 150 mL, considerably smaller than many mugs. Don’t exceed 12 level supplied scoops. If a full batch needs more strength, try less water rather than piling extra grounds into an already full basket.
You can use our coffee ratio calculator for other amounts, but the brewer’s basket and dose limits still apply.
A closer look
Details worth noticing.
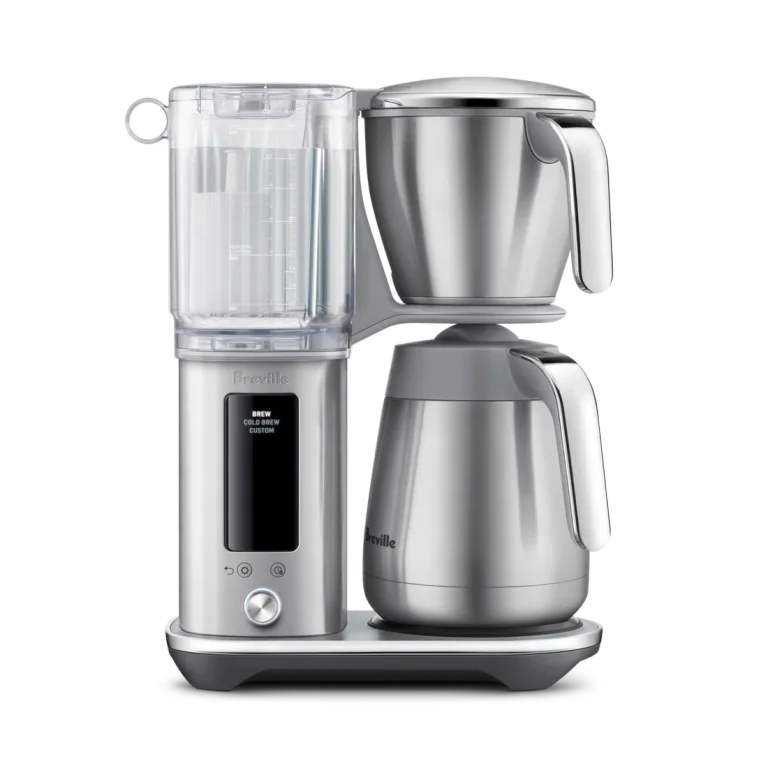
Product detail views: Breville
Single cups and the next pot
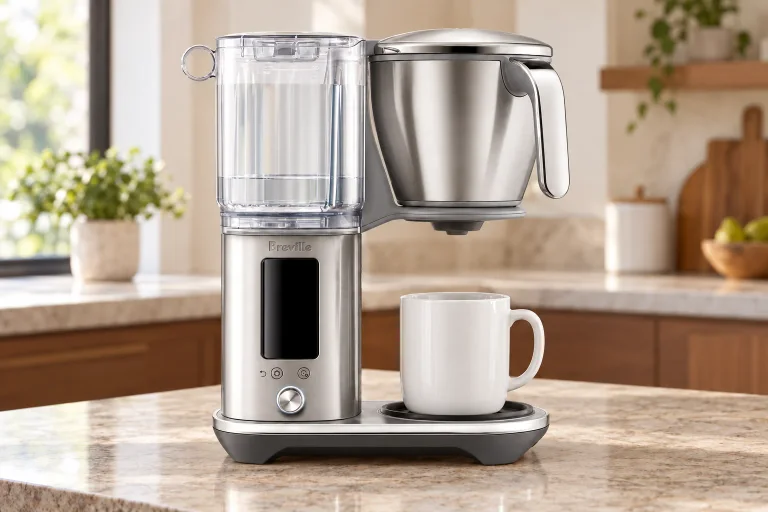
For one cup, fill below the tank’s Single Serve line and below the receiving cup’s capacity. Fit the cone and paper, add the corresponding dose and place the empty cup under the basket. The valve holds the brew before releasing it, so the manual’s roughly four-minute delay before coffee appears can be normal.
 AI
When switching back to a larger batch, empty the carafe and refit its lid. That small change matters: the lid participates in the basket’s draining arrangement. A leftover single-cup setup isn’t ready for a full pot.
For hotter serving, Breville suggests warming the empty cup or carafe with hot water for 30 seconds, then discarding it before brewing. Insulation slows cooling; it doesn’t reheat coffee. Never put this thermal carafe on a stove or in a microwave.
Which settings are worth using?
Custom brewing lets you change bloom volume, bloom time, brewing temperature and flow. Medium is the default flow; Slow and Fast are alternatives. Start with the regular brew before changing the recipe, so you have something useful to compare.
Breville suggests a 30–60-second bloom as a starting range. If the coffee is sour despite an appropriate grind and dose, a longer bloom is one documented adjustment to try. If it’s bitter, try a shorter bloom. Judge the next cup for that specific change; don’t treat either adjustment as a diagnosis of every unpleasant coffee.
Delayed Start is convenient when your morning is predictable. Set the clock, water, grounds, filter and lidded carafe beforehand, then arm the start time. Rearm it for the next brew; it isn’t a recurring daily alarm. Unplugging resets the clock, and daylight-saving changes need attention. The settings menu can reduce or mute beeps, but it won’t silence brewing noises.
Cold brew: read the time before pressing start
The 30-minute headline is the shortest selectable steep, not a promise that every coffee will taste fully extracted in half an hour. Breville’s cold mode ranges from 30 minutes to 36 hours, and the manual lists a 24-hour default. Check the selected duration before committing your coffee.
For the maker’s 600 mL recipe, remove the cone and mesh, use the large paper filter, add 12 level supplied scoops and use cold water without ice. Remove the carafe lid. The brewer steeps without heating and then releases the coffee. This is a much stronger recipe than the hot-brew table, so keep the two separate. See the cold-brew instructions before adjusting it.
Cleaning that keeps the routine manageable
Let the brewer cool and unplug it before cleaning removable parts. Empty the grounds, wash the basket and carafe with warm soapy water, and rinse thoroughly. A soft brush helps reach inside the carafe. Avoid abrasive or harsh alkaline cleaners; the thermal pot isn’t a vessel for improvised dishwasher-detergent soaks.
The showerhead and retaining ring need attention too. Follow the cleaning diagrams, clean the parts and secure the ring before brewing again. If it repeatedly comes loose, stop using the machine and contact Breville.
When descaling is due, remove the water filter and follow the descaler’s mixing directions and the brewer’s cycle. The manual uses the tank’s 1,000 mL descaling line, followed by an emptying step and a fresh-water rinse to MAX when prompted. Replacing the compatible ClaroSwiss filter is a separate job; it doesn’t replace descaling.
Troubleshooting: identify the symptom first
| Symptom | Check the distinction | Next action and what to watch |
|---|---|---|
| No coffee appears at first | Single-cup immersion or a large batch? | For a correctly configured single cup, allow the documented delay. A large batch that stops early needs the tank check below. |
| A large batch stops around four maker cups, or asks you to remove the lid | Is the tank fully engaged? | Before the next brew, reseat it until it clicks. Check that the machine recognizes the intended batch and finishes it. |
| FILL appears with water present | Check seating, dirty sensor prisms and direct bright light | Empty the tank and wipe the sensor prisms as the manual directs, then refill and click it into place. Look for normal water recognition; move it out of direct light if needed. |
| Basket overflows | Wrong lid/filter setup, excessive dose or very fine grounds? | Stop and let it cool before handling. Correct any setup fault first. If the setup and dose are right, try a coarser drip grind; watch for unobstructed draining. |
| Coffee is weak but the full batch finishes | Too little coffee or an overly coarse grind? | Check the dose against the table. If it matches, move the grind a little finer and compare strength without letting drainage stall. |
| Brewing becomes unusually slow or produces only steam | A developing restriction differs from normal bloom pauses | Follow the descaling procedure, then check the next water flow. Persistent faults belong with Breville support. |
These distinctions follow the manual’s troubleshooting section. Don’t keep restarting a faulty brew into the same loaded basket or already-filled cup. Record the message and batch configuration for model-specific support.
Questions before you buy
Can I use it without a scale?
Yes. Use the supplied Breville scoop, level rather than heaped: approximately one scoop per 150 mL of water for hot coffee. Two scoops and 300 mL make a practical starting batch. Use a marked measuring jug if needed, not an unspecified drinking cup. Household tablespoons vary, so don’t assume they equal the supplied scoop.
Do I need a special grinder?
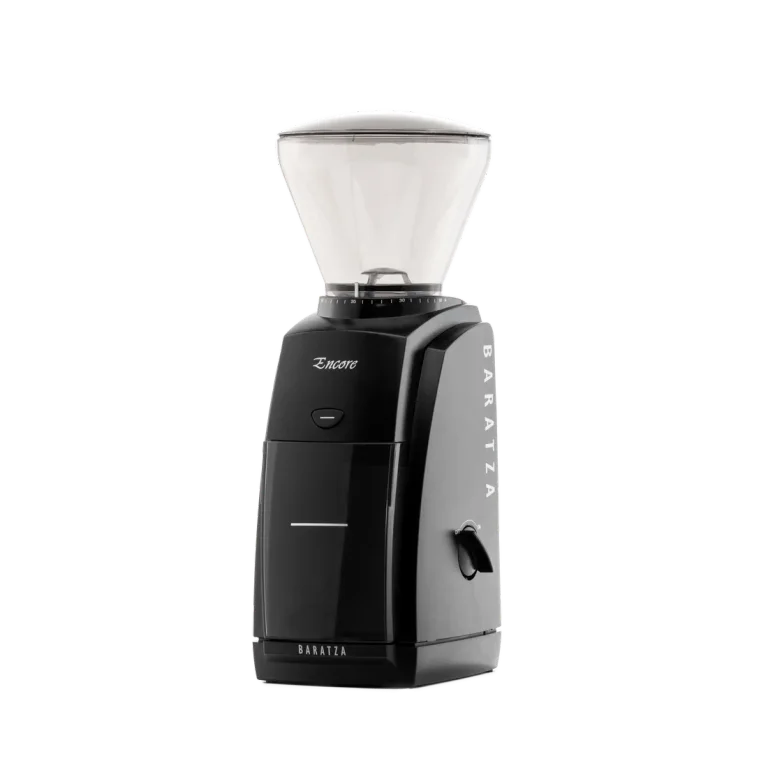
You need suitable drip grounds, not a particular grinder. A burr grinder makes adjustment easier if you buy whole beans; appropriately ground coffee from a roaster also works. Keep espresso-fine grounds out of this basket.
Is the Luxe the obvious choice over Aiden or Moccamaster?
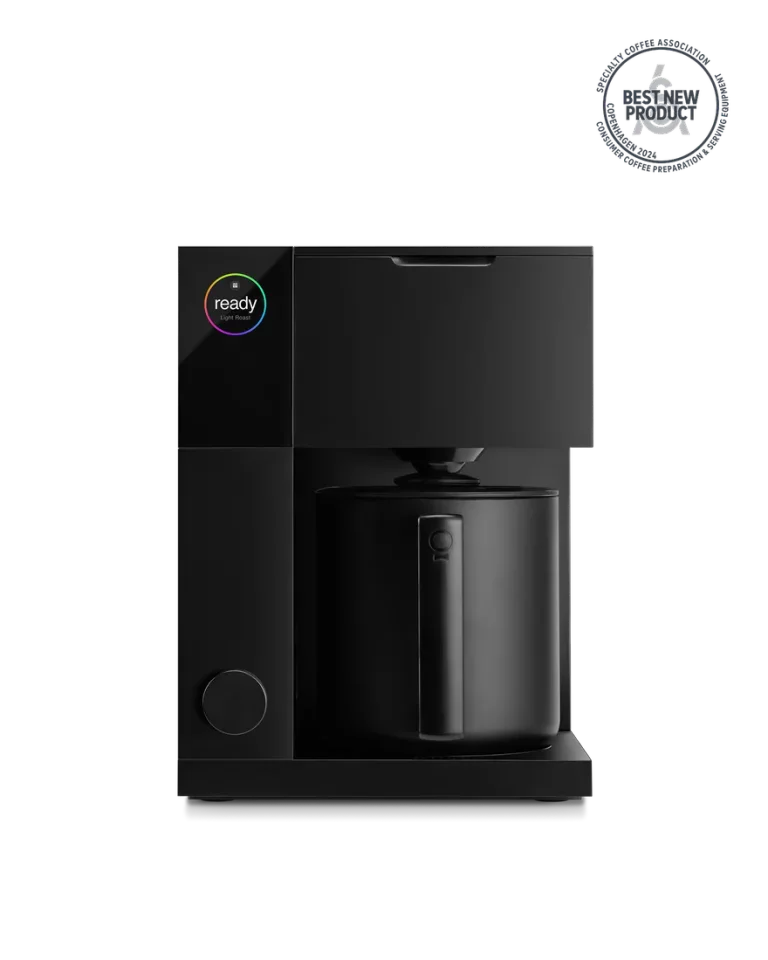
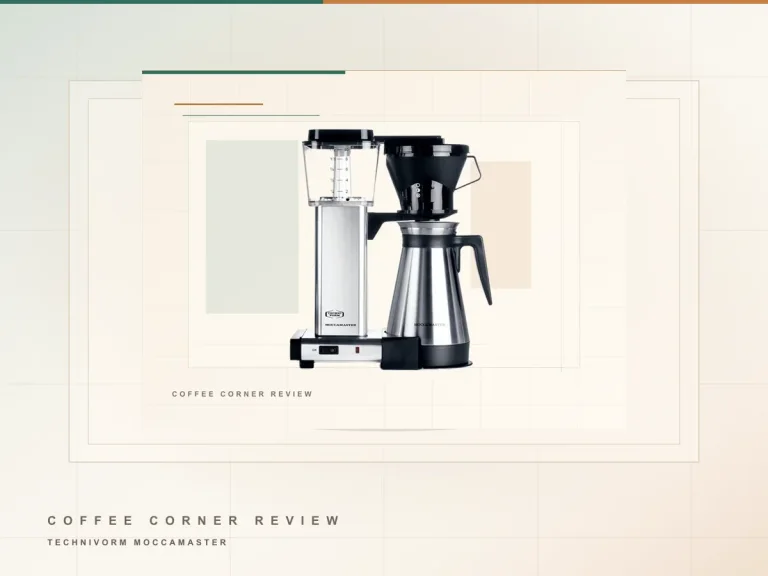
No. Its large tank, removable reservoir and local recipe controls are good reasons to shortlist it. The Fellow Aiden offers a different profile-led routine, while the Moccamaster KBT suits readers considering simpler controls. Compare the daily workflow and owner evidence in our coffee-maker buying guide before deciding.