Is the Barista Express still a sensible buy?
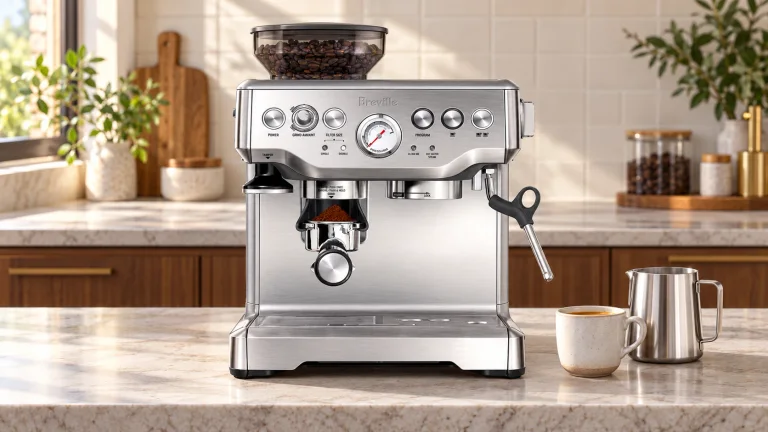
The Breville Barista Express BES870XL suits someone who wants to learn espresso with a grinder and steam wand in one machine. Its appeal is the complete setup: you can start with whole beans without choosing a separate grinder, tamper and milk pitcher. The compromise is your time. You prepare every basket, judge the extraction and texture the milk yourself.
For one person making a morning espresso or a couple sharing occasional cappuccinos, that can be an enjoyable routine. For a household expecting several different milk drinks before leaving for work, the repeated preparation matters more than the stainless-steel finish. Buy it because you want that involvement, rather than hoping the buttons will remove it.
For another integrated grinder and manual milk workflow, compare the De’Longhi La Specialista Arte Evo review. The Ninja Luxe Cafe Premier review explains the alternative when dose guidance and hands-free frothing matter more to your routine.
This review covers the original pressure-gauge Barista Express, not the Express Impress or Barista Pro. Breville's current BES870 specification lists an integrated grinder with 16 external settings, a 54 mm portafilter, PID temperature control and manual milk steaming. Those features give you useful control; they don't automatically choose a recipe for your beans.
What making the first drink actually involves
Think of the process as five small jobs. Set up the machine and cup, prepare the coffee, brew, texture milk if needed, then reset the work area. Keeping a clear space beside the machine is more useful than filling it with extra tools.
- Prepare the basket. Start with a clean, dry basket. The supplied single-wall baskets are intended for freshly ground beans; the dual-wall baskets accommodate pre-ground coffee. Keep the basket type consistent while learning.
- Grind and check the dose. The grinding amount control changes how long the grinder runs; it doesn't weigh the coffee. Check the amount again after changing grind size. Choose the matching single or double FILTER SIZE setting.
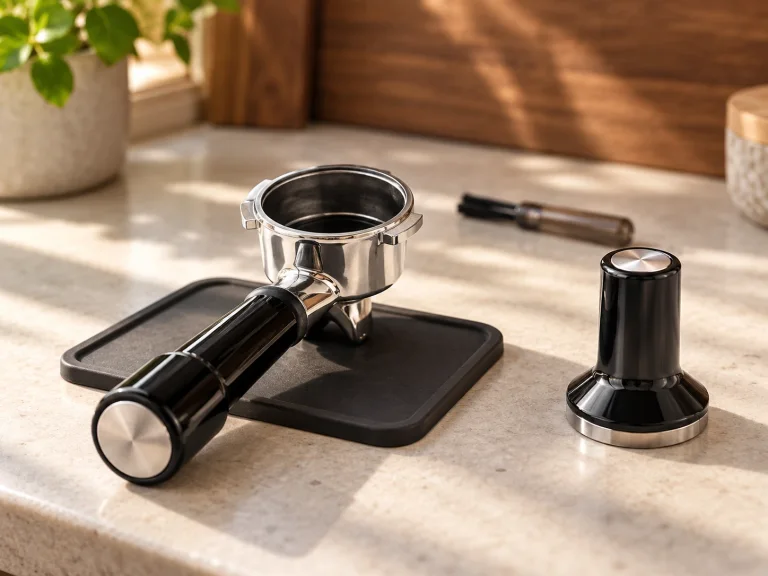
- Level and tamp. Spread the grounds evenly and press straight down. Use the supplied Razor to check excess coffee against the basket's intended fill level. Wipe loose grounds from the rim before locking in.
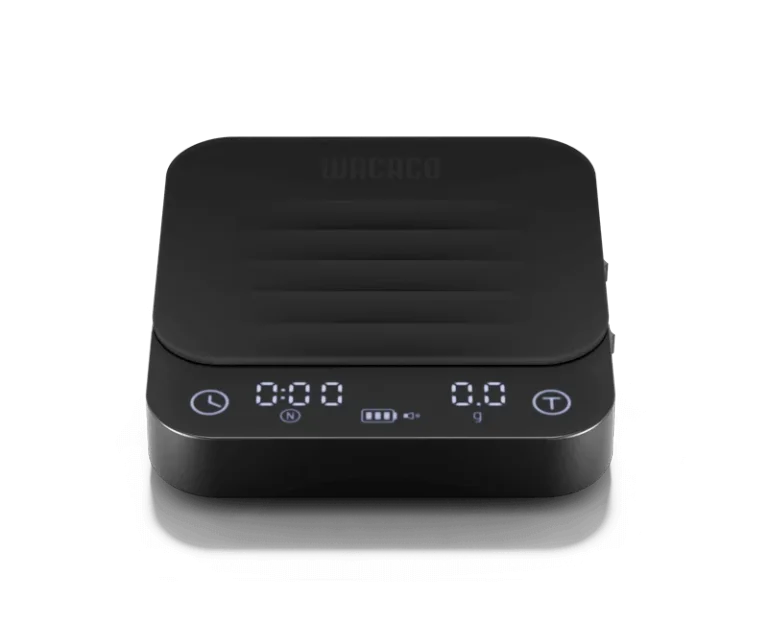
- Brew and assess. Watch the flow and taste the result. A scale lets you record coffee in and espresso out, making your next attempt easier to compare.
- Finish and reset. For a milk drink, steam after brewing. Clear the used coffee, rinse the basket and deal with the wand before milk dries onto it.
The official instruction book explains the controls and basket preparation. Don't remove the portafilter during extraction: hot, pressurized water can escape. The supplied tools are enough to begin; a replacement tamper isn't a prerequisite for learning.
 AI
The grinder is convenient, but needs attention
An integrated grinder removes a buying decision and keeps the work close together. It also means the grinding and brewing purchases are tied together. If you later want a different grinder, you can use one, but you'll have two appliances on the counter and an unused grinder inside the first.
Start by learning the adjustment you already have. A new bag may need a different setting, even when the last bag worked well. Keep a short note of the beans, basket, dose and finished espresso weight. That is more useful than copying a stranger's grind number: their beans, basket and grinder condition may be different.
Owners disagree about whether the built-in grinder is sufficient long term. Some stay happy with it for years; others find the adjustments restrictive or move to a separate grinder. That makes it a reasonable starting arrangement, not a guarantee that you'll never want another piece of equipment.
Avoid buying precision baskets, screens and several distribution tools at once. Each changes the setup you're trying to understand. Establish a repeatable result with the supplied basket first; then spend on a specific problem you can describe.
What the gauge and shot buttons can tell you
The pressure gauge gives feedback during extraction, but it cannot judge flavor. A needle in the suggested zone doesn't prove that the grounds were evenly prepared or that you like the result. Treat it as one observation alongside the flow, amount in the cup and taste.
The one- and two-cup buttons control the extraction; they don't identify the beans or guarantee your preferred strength. If you change the dose or coffee, check the drink again rather than assuming a stored setting still suits it. A useful note is “same dose, less coffee in the cup,” not simply “the needle looked right.”
Breville's extraction troubleshooting advice connects fast flow with a grind that may need to be finer, and very slow flow with overly fine grounds or too much coffee. The table below turns those distinctions into specific next steps.
Milk drinks and the second-cup routine
The steam wand is manual. You control the jug's position, how much air enters and when to stop. That is attractive if you want to learn texture and pouring; less so if each person in the house expects a ready-made latte from one button.
Start with cold milk and leave room for expansion. Breville describes introducing air near the surface before moving the tip deeper to keep the milk rolling. Turn steam off before withdrawing the wand, then wipe and purge it. For drink proportions and a fuller technique walkthrough, use our cappuccino guide.
Brewing and steaming happen in sequence. After steaming, the machine purges water to return toward brewing temperature. The next drink still needs a fresh basket of coffee and another preparation cycle. Don't mistake water entering the drip tray during that transition for proof of a leak.
For two people, decide whether serving one completed drink at a time is acceptable. If it isn't, compare the workflow before buying. Our Ninja Luxe Café Premier versus Barista Express comparison covers the differences in guidance, milk preparation and drink choice. Neither a larger tank nor a faster grinder removes the Express's manual steps.
A closer look
Details worth noticing.
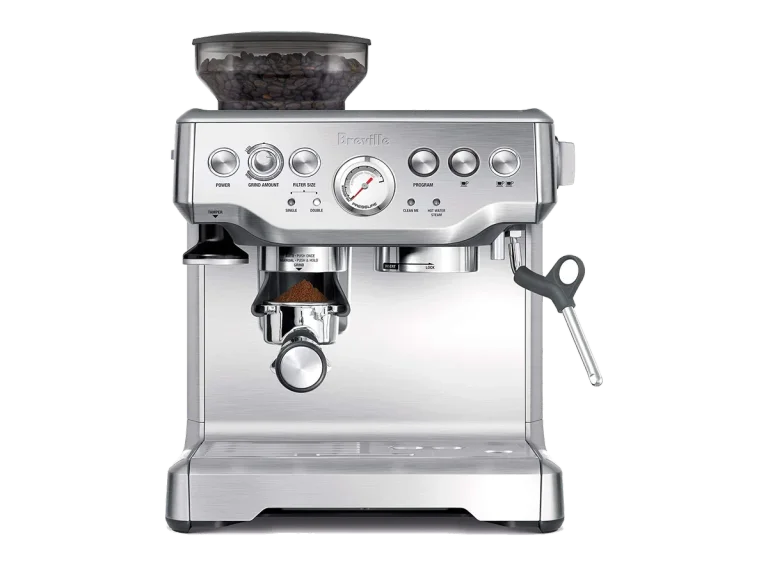
Product detail views: Archived product photograph
Plan the counter around access
A machine that fits beneath a cabinet can still be awkward to use. Before ordering, check these movements where it will stand:
- Lift the hopper lid without hitting a shelf.
- Reach and remove the rear water tank for filling and cleaning.
- Swing the steam wand outward with a jug underneath.
- Turn the portafilter handle and pull the drip tray forward.
- Leave a dry preparation area and a convenient route to the sink.
Current maker and retailer dimension listings use inconsistent axis labels, so confirm the width, depth and height against the exact unit before committing to a tight recess. Our coffee corner ideas guide shows how to arrange a preparation drawer, cups and cleaning supplies around the brewing area.
Cleaning: three jobs with different purposes
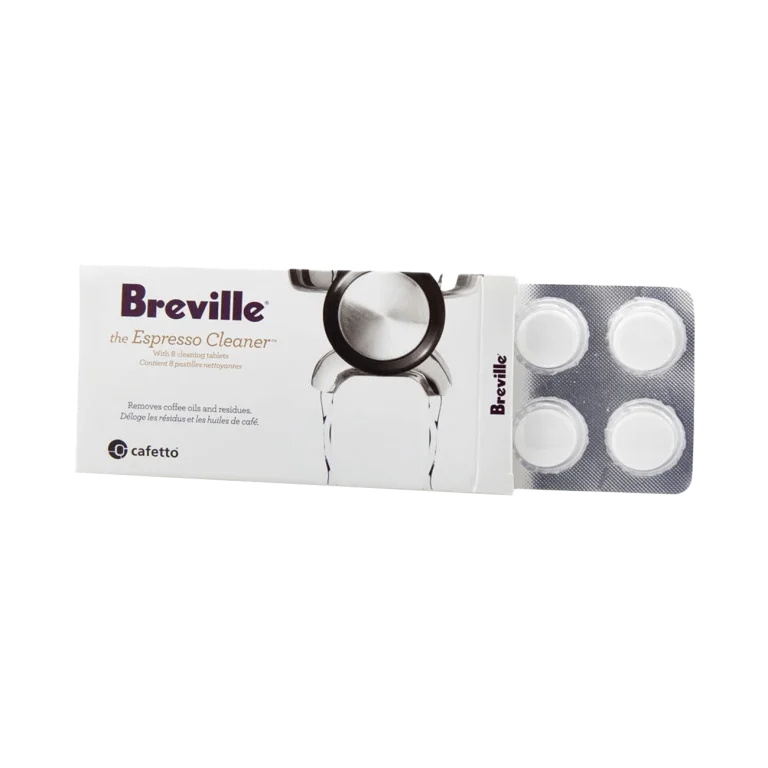
Daily cleanup, coffee-oil cleaning and descaling are separate jobs. Breville's care guidance makes the distinction clear. A water filter doesn't replace cleaning the coffee pathway, and a cleaning tablet doesn't remove mineral scale from the water circuit.
| Job | What to do | Why it matters |
|---|---|---|
| After making coffee | Clean the basket and portafilter; wipe and purge the milk wand; empty the tray as needed. | Removes fresh residue before it builds up. |
| Coffee-oil cleaning | Use the cleaning disc and recommended tablet in the model's cleaning cycle. | Targets coffee oils; the tablet does not belong in the water tank. |
| Descaling | Use compatible descaler and complete the specified rinse procedure. | Targets mineral deposits inside the water system. |
| Grinder care | Follow the removable-burr and chute cleaning instructions when grounds build up. | Helps prevent obstruction of the coffee path. |
Use the instructions that match your control panel and supplied booklet: older and newer BES870 revisions don't necessarily use the same cleaning labels or sequence. Our Barista Express manual page is a useful starting point. Hand-wash the removable parts; don't put them in the dishwasher.
For descaling, Breville's current support instructions say to use an approved, compatible solution rather than vinegar. Follow its label and the complete rinse cycle. Unplug and cool the machine before servicing parts; keep chemicals away from children and food.
 AI
Troubleshooting: choose one useful next step
First distinguish a coffee-preparation problem from a machine that isn't delivering water or steam. Grinding finer won't fix an empty reservoir. These adjustments follow Breville's extraction and maintenance guidance linked above.
| Symptom and distinction | Next adjustment | What to observe |
|---|---|---|
| Fast, thin shot; water otherwise flows normally | Keep the basket and dose steady; try a finer grind. | Does the flow slow and the drink become less thin? |
| Only drips; basket isn't overfilled | Try a coarser grind. If overfilled, correct the fill level first. | Does a steady espresso flow return? |
| Results vary despite similar dose and grind | Level the grounds and tamp straight; don't tap the puck afterward. | Do repeat shots become more consistent? |
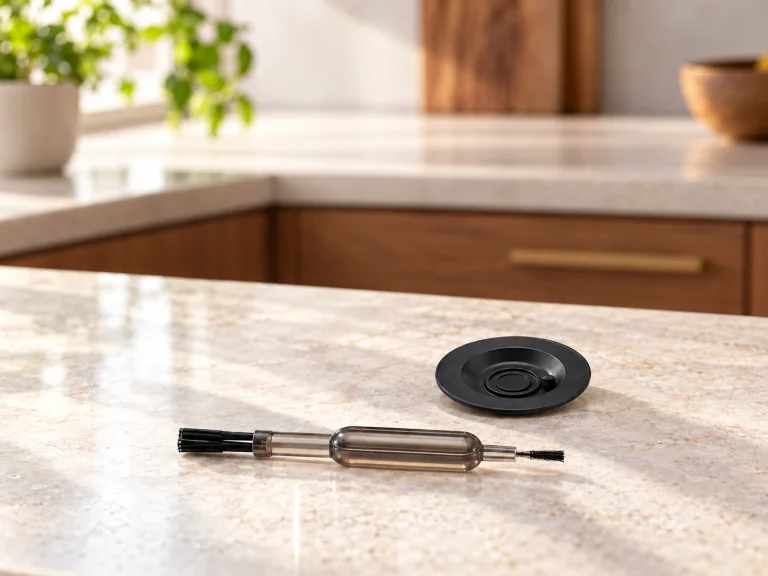
| Weak steam with visible milk residue | Switch off and let the wand cool; clear its tip using the supplied cleaning tool as directed. | Does normal steam return after cleaning? |
| No water, including without coffee | Check that the reservoir is filled and seated correctly. | If flow still fails, follow official support rather than repeatedly running the pump. |
Water collected inside the drip tray during purging is different from water escaping beneath the machine. Stop using a machine with an unexplained external leak and seek service. Don't open the case to copy an online repair.
Budget for beans before upgrades
The box already includes a portafilter, baskets, tamper and milk jug. Check the actual listing's included kit before adding duplicates; Breville's current bundle also lists a dosing funnel. Older stock may differ.
Beans are the recurring expense you can estimate most easily. For illustration, two drinks using 18 g each consume 36 g a day. A 340 g bag at $18 would therefore cost about $57.18 over 30 days, before discarded dial-in shots, milk, water treatment or cleaning supplies. That is a budgeting example, not a measured recipe or a savings promise. Change the inputs in the running-cost calculator to match your habits.
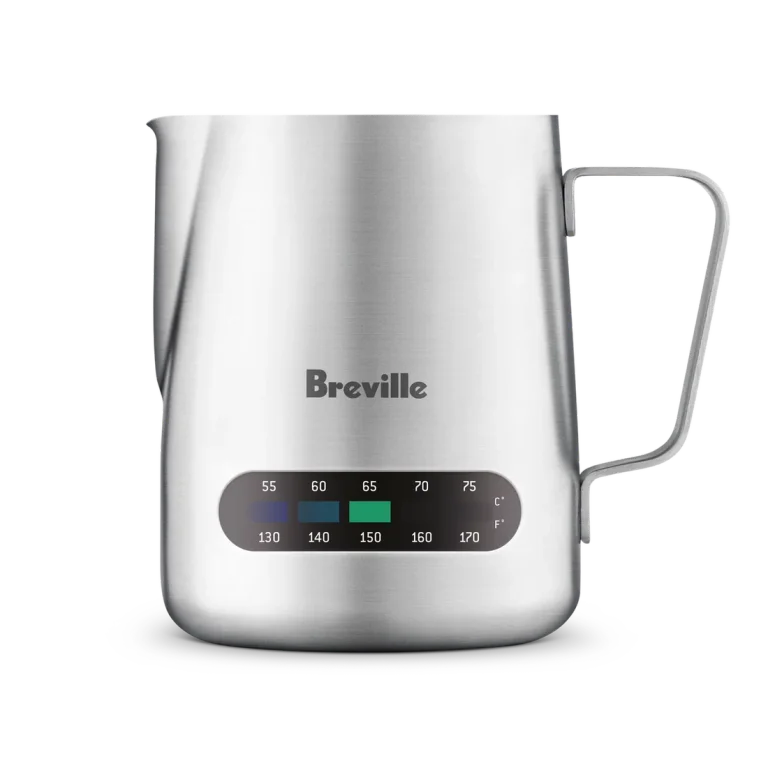
A scale can help you understand what you're changing. A temperature-indicator jug is more specialized, and a second pitcher is unnecessary if the supplied one already does the job. The gear cards below separate the machine itself from these supporting purchases.
Questions before you order
Can I begin without a scale?
Yes. Use the supplied basket and Breville's fill-level guidance: tamp, then trim excess with the Razor. This is a basket-based starting method, not a precise dose measurement. Don't translate a heaped spoon into a universal gram figure. Add a scale if you want to compare dose and finished yield more closely.
Will it make a large mug of regular coffee?
It makes espresso, which you can dilute with hot water for an Americano. That is a different drink and process from brewing a full pot of filter coffee. If several large mugs are your main requirement, compare coffee makers for that routine before choosing an espresso station.
Should I buy an Impress instead?
Consider what you want help with. This original Express leaves dosing and tamping to you; it isn't the assisted-tamping Express Impress. Compare the models in our Breville machine guide, paying attention to the work you repeat every morning rather than the similarity of their names.