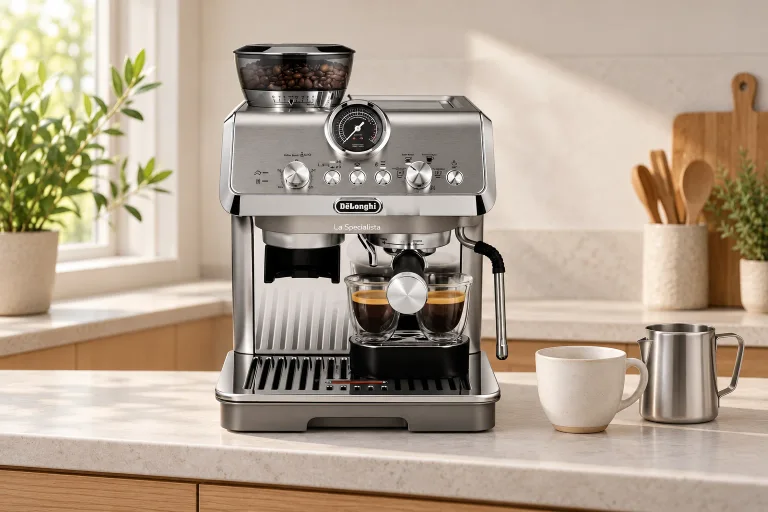
Who the Arte Evo suits
The De’Longhi La Specialista Arte Evo EC9255M suits someone who wants to learn espresso with a grinder, dosing funnel, tamper and milk pitcher in one setup. You prepare the coffee and steam the milk; the machine handles the selected brew cycle. Its appeal is that division of work, especially if you enjoy adjusting your morning drink.
It isn’t our automatic first choice for every beginner. The eight grind settings give you fewer small adjustments than many dedicated espresso grinders, and critical owner reports make grinder care and support worth considering before purchase. The Breville Barista Express has a substantially larger Amazon rating base and a higher aggregate score at this check, although its own owners report setup frustrations and faults. Compare the routines, seller and support terms as well as the hardware.
If you want automatic milk and more guidance, read the Ninja Premier versus Arte Evo comparison. For a wider shortlist, start with our espresso-machine buying guide.
Understand the three adjustments before brewing
The easiest mistake is treating the numbered dose dial as a measurement. De’Longhi’s US manual, pages 7–9, makes a different distinction: the grinder changes particle size; the front dose dial changes how much coffee is dispensed; the temperature button changes the brew setting.
| Control | What to use it for | What to check next |
|---|---|---|
| Grind selector, 1–8 | Adjust the resistance of a correctly filled basket. Turn it only while the grinder is running. | With the dose at the marked level, finer should slow a fast flow; coarser should relieve a slow, dripping flow. |
| Front dose dial | Bring the tamped coffee to the basket’s marked level. Its numbers are reference positions, not grams, ounces, seconds or grind settings. | Inspect the level after tamping. A dial position that worked for one bean may need changing for another. |
| Temperature button | Choose MIN, MED or MAX. The manual suggests lower for darker roasts and higher for lighter roasts. | Check the selected indicator. This controls brewing temperature, not the final temperature in your cup. |
Keep a small note for each coffee: basket, grind position, dose-dial position and temperature. That gives you a useful starting point when reopening the same beans. The pressure gauge is another clue during espresso extraction, not a score for flavor or a substitute for checking the basket.
Make the first espresso without guessing the dose
Complete the manual’s first-use rinse before adding coffee. Wash and dry the removable accessories, fill and seat the tank, then prime and rinse the hot-water, brew and steam paths in the stated sequence. Use containers beneath the outlets; hot water and steam can splash.
- Choose the basket. Use the one-cup basket for one serving or the two-cup basket with the 2X indicator selected. Matching the button and basket matters; 2X also changes the programmed drink volume.
- Start with the grinder’s setup guidance. The US manual’s factory starting point is 5, with 3–6 suitable for many coffees. Treat that as a starting range, not a universal recipe. Don’t force the selector while the burrs are stationary.
- Fit the dosing funnel. Start with a low dose setting, attach the funnel to the portafilter, then engage it beneath the grinder. The grinder stops automatically.
- Level, tamp and inspect. Tap to settle the grounds, support the portafilter on the tamping mat and tamp with the supplied tool. Remove the funnel and compare the puck with the basket’s marked level. Adjust the next dose if it sits above or below that line.
- Lock in and brew. Select Espresso and the appropriate temperature, place your cup, then press OK. Let the cycle stop. Keep the portafilter locked during extraction.
The factory espresso volumes are approximately 35 mL for one cup and 70 mL for two, according to the US quick guide. These are volume settings, not guaranteed beverage weights or espresso ratios. A scale becomes useful when you want to compare actual output, but you can begin with the supplied basket marks.
Plan the first and second drink
For a cappuccino, brew the espresso, steam fresh milk and pour. Wipe and purge the wand immediately afterward. For the next drink, wait until brewing has stopped before removing the hot portafilter, discard the puck and prepare a fresh basket. A second cup takes another grinding and tamping cycle; this is not a machine that prepares a queue of drinks unattended.
If the next person wants an Americano, select that program and match 1X or 2X to the basket. Leave room for the hot water added to the coffee. The factory settings are approximately 120 mL and 240 mL, respectively. Milk is separate from every coffee program.
Keep a dry preparation area beside the machine and a clear route to the sink. A place for the used portafilter, pitcher and wiping cloth is more useful than adding several decorative accessories around the tray. Our coffee-corner layouts show how to organize those working zones.
Steam milk with room to work
The Arte Evo has a manual wand controlled by the steam button. Start with fresh refrigerator-cold milk in the supplied pitcher, leaving generous space: the manual warns that milk can increase to as much as three times its starting volume. Briefly purge the wand away from you before bringing it into the milk.
Keep the tip near the surface while introducing air, then lower it just below the surface to maintain a circulating motion. Press the steam button to stop, wait for steam to cease, and only then remove the pitcher. Wipe the wand with a damp cloth and release a brief purge into a safe position.
A small pitcher is easier to position than a large jug crowded against the body. Check that you can move it freely before heating milk. Whole milk is the manual’s preferred starting point; plant milks behave differently. The wand gives you control over texture, but it does not automatically choose the amount of foam or stop at a milk-temperature target.
A closer look
Details worth noticing.
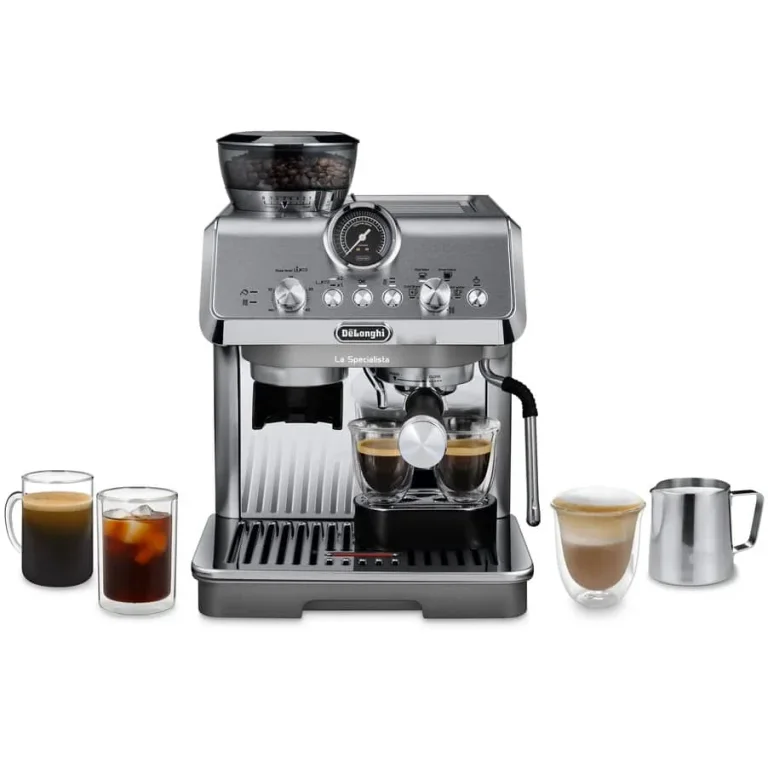
Product detail views: De'Longhi
Use cold extraction as a separate recipe
Cold Brew is a rapid, single-drink program, not a promise that the result matches overnight immersion. Use fresh water and the appropriate basket dose. The US instructions suggest grind positions 4–6 and two or three ice cubes in the glass.
After hot drinks, cool the coffee circuit first: select Cold Brew, put an empty container beneath the group, press OK to dispense for a few seconds, then press OK again to stop. Prepare the coffee and ice, and run the cold program. Its low-pressure operation means the gauge need not rise as it does for espresso. Don’t keep tightening the grind simply to move the needle.
Check counter access and the supplied kit
Measure the actual machine and your operating space before committing to a tight alcove. Published dimensions vary between listings, so a single width figure is a poor fit guarantee. You need access above the hopper, behind the machine to remove the tank, in front to turn the portafilter and pull out the tray, and beside the wand to tilt a pitcher.
The US manual lists one- and two-cup baskets, portafilter, dosing funnel, tamper, milk pitcher, cleaning brush, steam-tip needle, hardness strip and descaler. Check the seller’s exact box contents, particularly with used or open-box offers. Start with that kit before buying replacement baskets or a larger pitcher. An optional scale should fit safely under the cup without obstructing the outlets.
The highlighted Amazon machine offer checked on October 26 was from a third-party seller with restrictive return terms. Read the selected offer’s condition, seller and returns before ordering; another offer on the same product page can have different terms.
Care that matters beyond the drip tray
Clean the basket and portafilter, wipe and purge the wand, and empty the tray as part of the daily routine. Let the machine cool and unplug it before the manual’s cleaning work. Use the supplied brush on the accessible grinder attachment and dosing funnel. A blocked outlet and a failed grinder are different problems; neither calls for casually opening the machine’s casing.
Set water hardness using the supplied strip: immerse it for one second, shake off excess water and read the result after one minute. Enter the corresponding hardness level using the manual’s settings procedure. This lets the descale reminder reflect your water rather than an assumed universal cleaning calendar.
For descaling, follow pages 18–19 of the US manual: remove the portafilter, add the specified 100 mL De’Longhi descaler to level A and one liter of water to level B, and place a container of at least two liters to catch all outlets. Read the bottle’s handling precautions, avoid splashes and keep children away. The solution phase is followed by a fresh-water rinse; do not stop after the first tank. Rinse and refill to MAX when instructed, complete the cycle, then empty the tray.
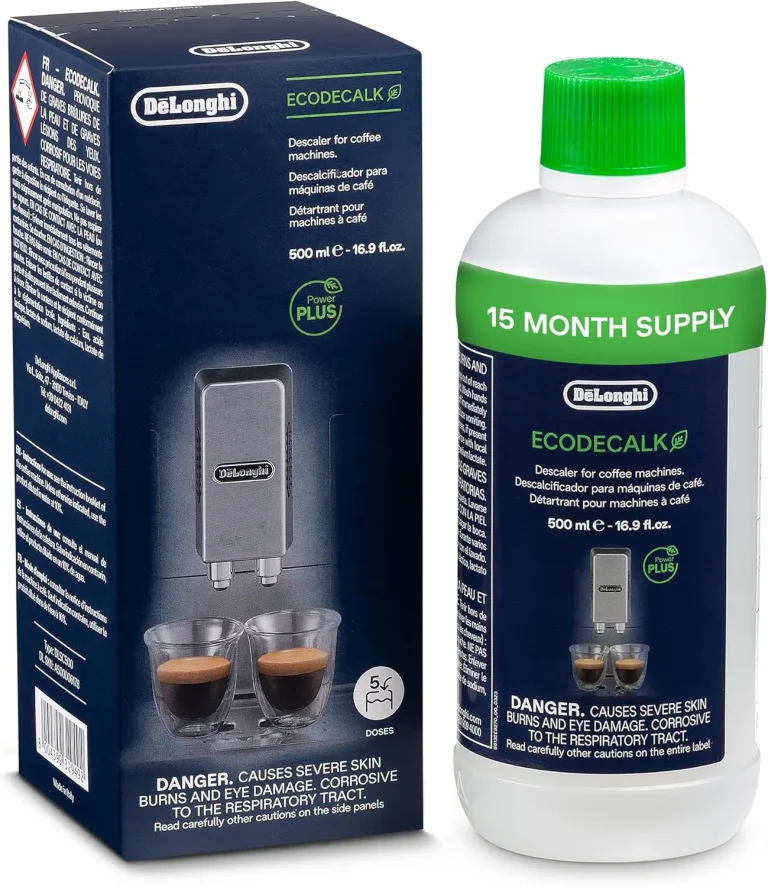
The linked 500 mL EcoDecalk bottle provides five 100 mL doses. How long it lasts depends on the machine’s reminders and your water, not the listing’s suggested number of months. It removes scale; it does not replace cleaning coffee residue from the basket or milk from the wand.
Troubleshooting: choose the next step by the symptom
These checks follow the EC9255M manual. Stop using the machine if a fault persists after the listed user maintenance; contact De’Longhi service instead of dismantling it.
| Symptom and distinction | Next adjustment | What to observe |
|---|---|---|
| Espresso rushes through, but the tamped dose reaches the basket mark. | Move one grind step finer while grinding. | The next espresso should flow more slowly. Recheck the basket level after the grind change. |
| Espresso only drips; the tank is seated and the basket holes are clear. | With the dose at the marked level, move one step coarser while grinding. | Flow should become less restricted. If no water flows, follow the separate water-supply checks. |
| The portafilter will not lock after dosing. | Check for coffee above the marked level and reduce the dose; confirm 1X for the single basket. | The correctly filled portafilter should lock normally. Don’t force an overfilled basket into place. |
| A water warning appears despite water in the tank. | Remove and reseat the tank fully. | The warning should clear and water should feed. Persistent no-flow needs the manual’s blockage/service checks. |
| The basket stays empty after grinding, with grounds caught in the funnel. | Cool, unplug and brush the accessible funnel and grinder attachment as directed. | The next grind should reach the basket. A motor fault or continuing obstruction needs service. |
| Milk stops frothing and the cooled steam-tip opening is blocked. | Use the supplied cleaning needle as the manual directs. | After reassembly, steam should emerge normally; keep clear of the hot outlet. |
| The gauge barely moves during Cold Brew, but the drink dispenses. | Keep the cold recipe; do not correct it as a low-pressure espresso fault. | Judge completion by the cold cycle, not the espresso pressure zone. |
Questions before you buy
Can I start without a coffee scale?
Yes. Use the supplied basket, dosing funnel and tamper, adjust to the basket’s marked level after tamping, and begin with the factory espresso volume. Don’t convert the dial number into grams or estimate a universal tablespoon dose. A scale adds repeatable output measurements later.
Does it make a latte automatically?
No. It brews the coffee, but you fill the pitcher, position the steam wand, control aeration and stop steaming. Choose an automatic-milk machine if that work is what you want to avoid.
Can I change how much coffee ends up in the cup?
Yes. The manual describes holding OK until the desired drink volume is reached, then releasing it. Program 1X and 2X separately. This changes the beverage amount, not the dry coffee dispensed by the grinder.