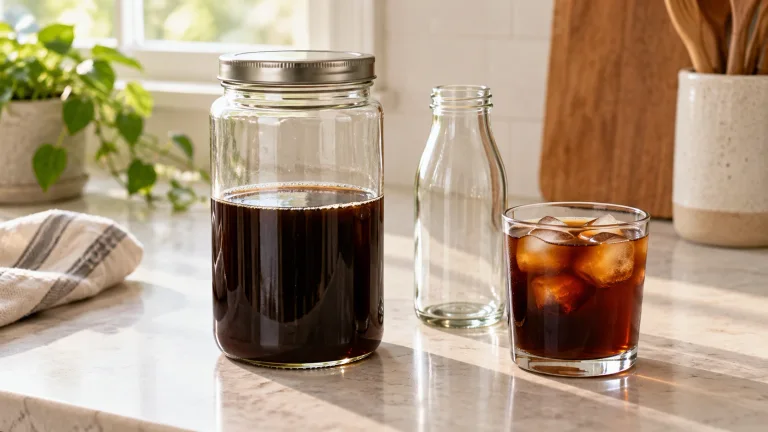
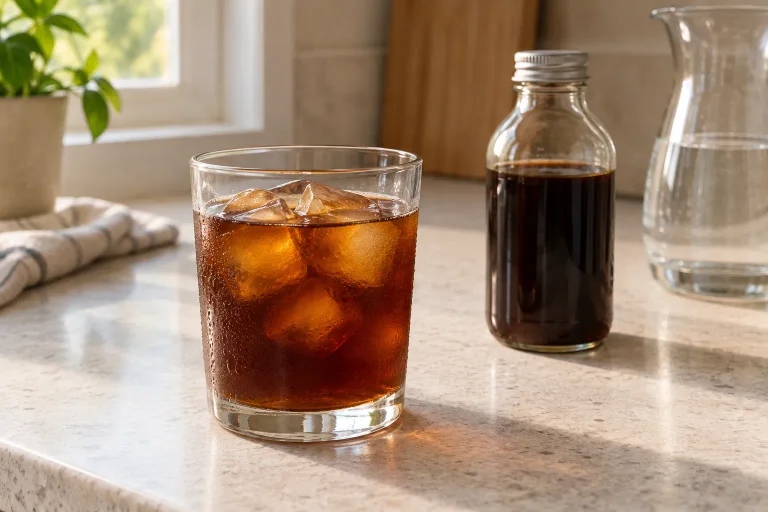
Start with 100 g coarsely ground coffee and 400 g cool water. Cover, refrigerate for 20–24 hours, then strain and paper-filter. For your first glass, mix 60 mL concentrate with 120 mL water before adding ice.
Once you have diluted the concentrate to your liking, add a light milk cap or a richer vanilla sweet cream cold foam. Froth the topping just before serving and leave room for it above the ice.
This small-jar recipe uses the roughly 1:4 proportions and refrigerator timing in OXO's Compact method. The ratios do different jobs: 1:4 measures dry coffee against brewing water by weight; 1:2 measures filtered concentrate against serving water by volume.
A small batch of cold brew concentrate
Use a clean, food-safe jar with a lid, preferably 1 liter for easy stirring, plus a scale, spoon, strainer, paper coffee filter and a holder that supports it. Have a clean covered bottle ready for the filtered coffee.
- Put 100 g coarse grounds in the jar. Add 400 g cool drinking water and stir gently to wet every dry pocket.
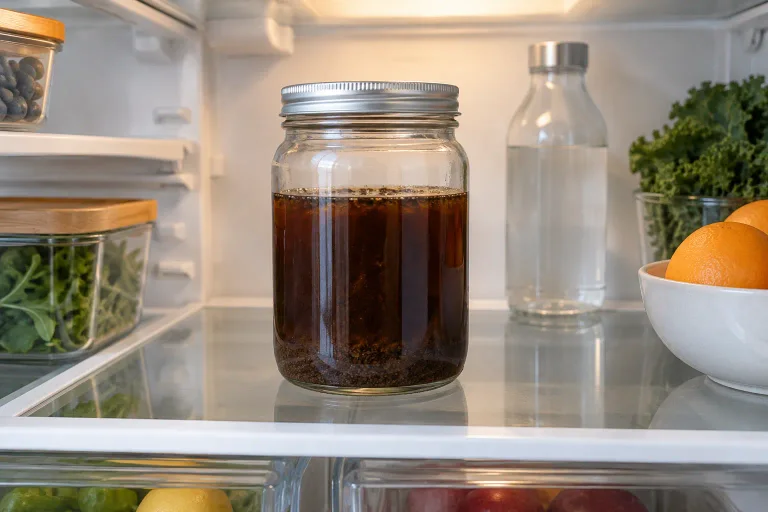
- Cover and refrigerate for 20–24 hours. Label the start time. Keep the refrigerator at 40°F / 4°C or below.
- Strain the large grounds, then pass the liquid through a supported paper coffee filter as described below.
- Close and date the storage bottle. Refrigerate the concentrate; dilute only the portion you are serving.
Counter Culture also describes brewing in a sealable jar. Our strainer and paper filter replace the dedicated brewer's drain.
| Dry coffee | Brew water | Calculation |
|---|---|---|
| 50 g | 200 g | 50 × 4 |
| 100 g | 400 g | 100 × 4 |
| 150 g | 600 g | 150 × 4 |
For larger batches, leave room for grounds and stirring. The brew ratio calculator scales the inputs; filtration losses mean you recover less coffee than the water you added.
Choose beans and grind for the way you drink it
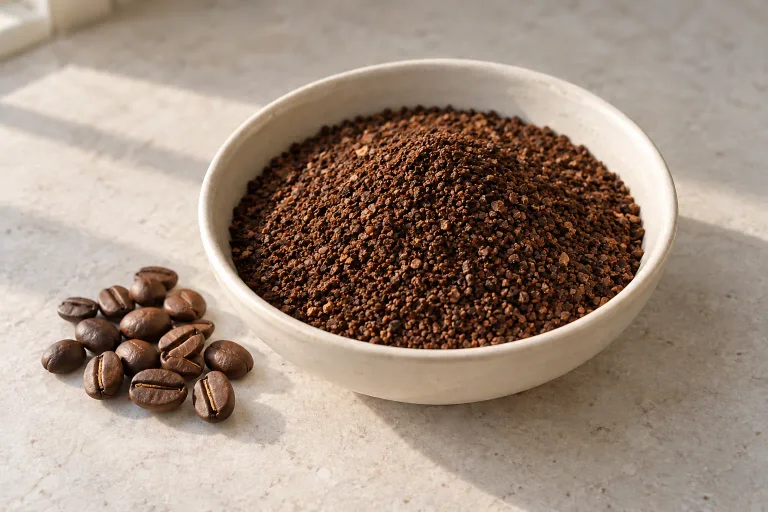
You do not need a bag labeled “cold brew.” Start with coffee you already like, so the first batch answers a useful question: does that coffee suit you cold? If you normally drink it with milk, taste the trial serving with the amount of milk you actually use. Choosing from the concentrate alone can lead you to reject a batch that works well after dilution.
A medium roast is a straightforward starting choice if you are unsure. That is a flavor preference, not a rule: Stumptown's cold-brew FAQ accepts different beans and decaf. Keep roast and origin comparisons separate from strength. A darker color in the glass does not establish either a higher extraction or more caffeine.
Start coarse enough for manageable filtering, but avoid treating your grinder's largest setting as compulsory. Counter Culture recommends medium-coarse grounds rather than the extreme end of the dial. Very large pieces can leave the drink thin and sharp; excess powder can turn filtering into a slow job. Your grinder's numerical setting will not transfer reliably to another model.
Wet the grounds thoroughly at the start. A floating raft can look saturated while concealing dry coffee underneath. Stir gently until those pockets disappear, then cover the jar. There is no need to keep opening it during the steep: record the start and planned filtering time so you can repeat the result.
A simple overnight schedule
Mix a batch at 6 p.m. and a 20-hour steep finishes at 2 p.m. the following day; 24 hours finishes at 6 p.m. If you want coffee first thing in the morning, brew and filter the day before. “Overnight” on its own is too vague for this refrigerator recipe, and starting at bedtime may not give the grounds enough time before breakfast.
Leave time for filtration as well. The drain rate depends on grind, filter and batch size, so do not plan to pour the entire jar through paper two minutes before leaving home. Set up the clean storage bottle and filter holder before you begin straining.
An approximate option without a scale
Measure 1¾ US cups of coarse grounds and 2½ US cups of water into a clean 1.5-liter jar. Loosely fill and level the dry cups without packing. Measure grounds, not whole beans.
This halves OXO's approximate volume recipe. Use our 20–24-hour refrigerator steep and filtration above, then the serving-cup measurements below.
A US measuring cup holds 8 fluid ounces or 16 tablespoons, approximately 237 mL; 2½ cups water is about 590 mL. Grounds vary in density, so this separate batch is approximate. Use both cup quantities together, rather than substituting them into the weighed recipe.
Filter the coffee, then measure what you have
Set the strainer securely over a clean pitcher and pour slowly to catch most of the grounds. Put a paper coffee filter in a matching dripper or other stable filter holder over the storage vessel. Pour the strained liquid through it in stages, staying below the paper's rim. Let gravity work without squeezing the paper.
Stumptown recommends paper filtration for stray particles, including after using a French press. A mesh strainer catches large grounds; paper is the second step for a less gritty drink. Neither step sterilizes the coffee.
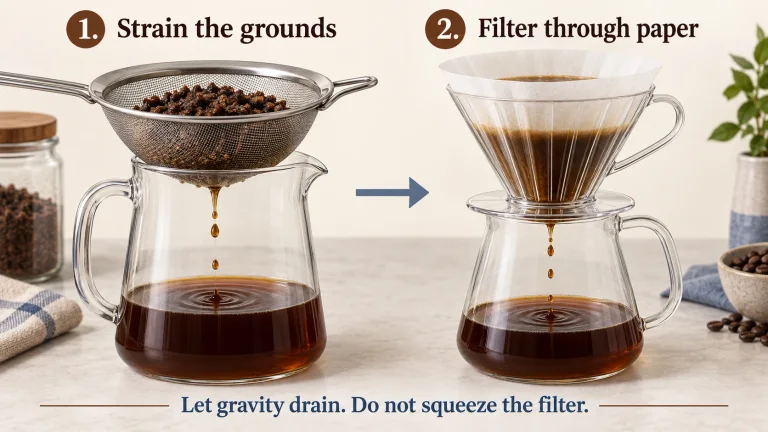
If drainage stops, avoid pouring more liquid into a full filter. Let the liquid already present drain, or carefully transfer it to a fresh supported filter. Next batch, check the grind: OXO notes that fine grounds slow draining. A strainer-first pass also keeps the whole bed of grounds out of the paper.
Wet grounds retain water. Measure the concentrate you collect before estimating servings; the 400 g of brewing water will not become 400 mL of concentrate.
Worked example, not a brew result: if you collect 240 mL concentrate and use 60 mL per glass, you have four portions. At 1:2, each uses another 120 mL water, giving 720 mL across the four drinks before ice.
Dilute the concentrate before judging it
OXO's serving range is one part concentrate to two or three parts water. The table shows how those proportions scale.
| Concentrate | Added water | Serving ratio | Total |
|---|---|---|---|
| 60 mL | 120 mL | 1:2 | 180 mL |
| 60 mL | 180 mL | 1:3 | 240 mL |
| 90 mL | 180 mL | 1:2 | 270 mL |
| 90 mL | 270 mL | 1:3 | 360 mL |
Without a scale, use ¼ cup concentrate plus ½–¾ cup water. Milk can replace the serving water; add it to the glass.
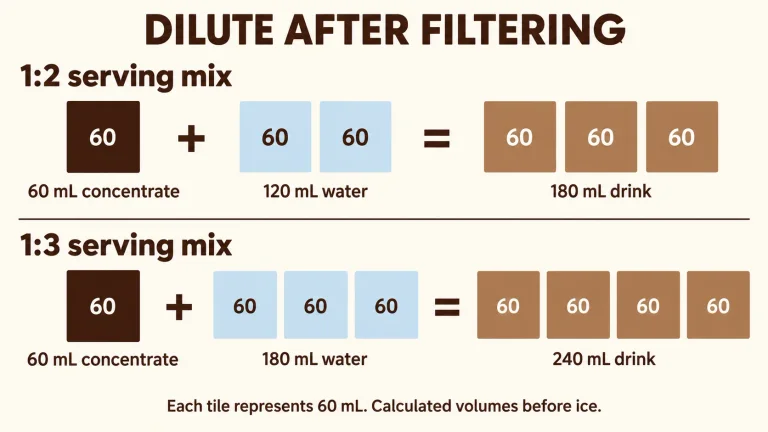
Ice adds water as it melts. Compare serving mixtures before ice so you know what changed. Adding water lowers concentration in the glass; it does not remove caffeine from the concentrate portion. Neither the brewing ratio nor these calculations tells you its caffeine content.
Build the serving before changing the batch
For a plain first glass, measure the concentrate and cold water before adding ice. For a milk drink, use the same concentrate portion and replace some or all of that water with milk. A partly milk, partly water mixture can keep the coffee clearer than an all-milk version. Add any syrup a little at a time to the individual glass.
For example, 60 mL concentrate with 60 mL water and 60 mL milk still uses 120 mL of added liquid. This is serving arithmetic, not a caffeine calculation. If you want a larger drink while keeping the same amount of concentrate, add more water; doubling the concentrate is a different change.
Cold brew can also be served warm: dilute a refrigerated portion with hot water in a heat-safe mug, as OXO describes. The concentrate will cool the water, so check that the result is comfortable to drink rather than assuming it is piping hot. Keep the storage bottle refrigerated and warm only your serving.
Before buying a dedicated brewer, try this workflow a few times. A purpose-built vessel mainly changes how you contain the grounds and drain the batch. It does not remove the need to measure, clean or dilute, and its fill limits take priority over the jar quantities here.
Troubleshooting: pick the next comparison
Keep the coffee and other recipe details steady while making one comparison.
- Too intense but otherwise pleasant: treat this as a dilution question first. Compare 60 mL concentrate with 180 mL water instead of 120 mL. Look for a comfortable strength before changing the batch.
- Weak after dilution: if the concentrate has plenty of flavor, compare the 1:2 serving instead of 1:3. Look for restored strength. Stumptown advises reducing dilution before extending the steep.
- Strong enough but sour: if you used an extremely coarse grind, try slightly finer, toward medium-coarse, next time. Look for less sourness without excessive filtration delay. This follows Counter Culture's grind guidance; grinder numbers do not transfer between models.
- Woody or harsh after a 24-hour refrigerator steep: if ordinary dilution does not help, compare the 20-hour endpoint next batch. Observe whether harshness eases while flavor remains sufficient. This combines OXO's refrigerator range with Stumptown's warning about excessive steeping.
- Gritty rather than merely strong: if you used mesh alone, paper-filter a portion and compare its texture. Look for fewer particles, as described in Counter Culture's filtration guidance.
Record the beans, grind, inputs, steep time and dilution alongside the result. Keep unused beans according to our coffee storage guide.
Keep the batch cold and the equipment clean
Use clean, covered containers and check the refrigerator with an appliance thermometer. FDA guidance supports cold storage and clean handling; it does not establish a homemade cold-brew expiration date. Normal smell or taste cannot prove safety. Discard a batch with uncertain handling or storage rather than taste-testing it.
OXO gives its concentrate up to 14 refrigerated days; that does not validate this jar recipe's shelf life. Plan only a few days' supply to start, without treating that as a safety guarantee.
Store plain concentrate and add milk when serving. Do not apply a plain-concentrate storage claim to a milk mixture. Follow the milk's handling instructions. Clean the jar, filter holder and storage bottle between batches; do not top a partly used bottle up with fresh concentrate. See our guide limits and preparation safety.
Need coffee now? Make iced pour-over
Hot extraction over ice is different from cold steeping. For Blue Bottle's iced pour-over method, choose 20 g coffee from its published 20–27 g range.
- Use medium-fine grounds and a compatible dripper and paper filter. Rinse the filter; discard the rinse. Place 75 g ice in a heat-safe carafe beneath the dripper.
- Heat at least 250 g water to 200–210°F; only 200 g enters the brew. Add coffee, level it and zero the scale.
- At 0:00 pour to 50 g; at 0:40 pour to 120 g; at 1:10 pour to 200 g. Each pour takes about ten seconds. Do not reset the scale between pours.
- Let it drain, aiming for 1:45–2:15, then swirl. Handle hot equipment carefully.
Calculated water input: 200 + 75 = 275 g, or 1:13.75 with 20 g coffee. This is not finished yield. Extra serving ice changes dilution. See the brewing-method guide for hot recipes.
Frequently asked questions
Is every cold-brew recipe a concentrate?
No. Recipes can target a drink served straight or a stronger liquid intended for dilution. This guide makes concentrate. When following another recipe, use its serving directions instead of automatically adding twice as much water. Check whether its ratio means dry coffee to brew water or finished coffee to serving water.
Can I use preground coffee?
Yes. Ask the seller for coarse grounds if you have no grinder. Fine grounds drain more slowly, as explained above.
Can I use decaf?
Stumptown confirms decaf beans work for cold brew. Use the same starting workflow and adjust the serving to taste. Decaf is not a guarantee of zero caffeine; our caffeine guide explains the limits of estimates.
Can I make a big batch immediately?
Scale both weighed inputs together, but start small enough to learn your filtration and serving preferences. A larger batch also needs more vessel space and storage capacity. Record how much concentrate you actually recover before planning a week's worth of drinks.